
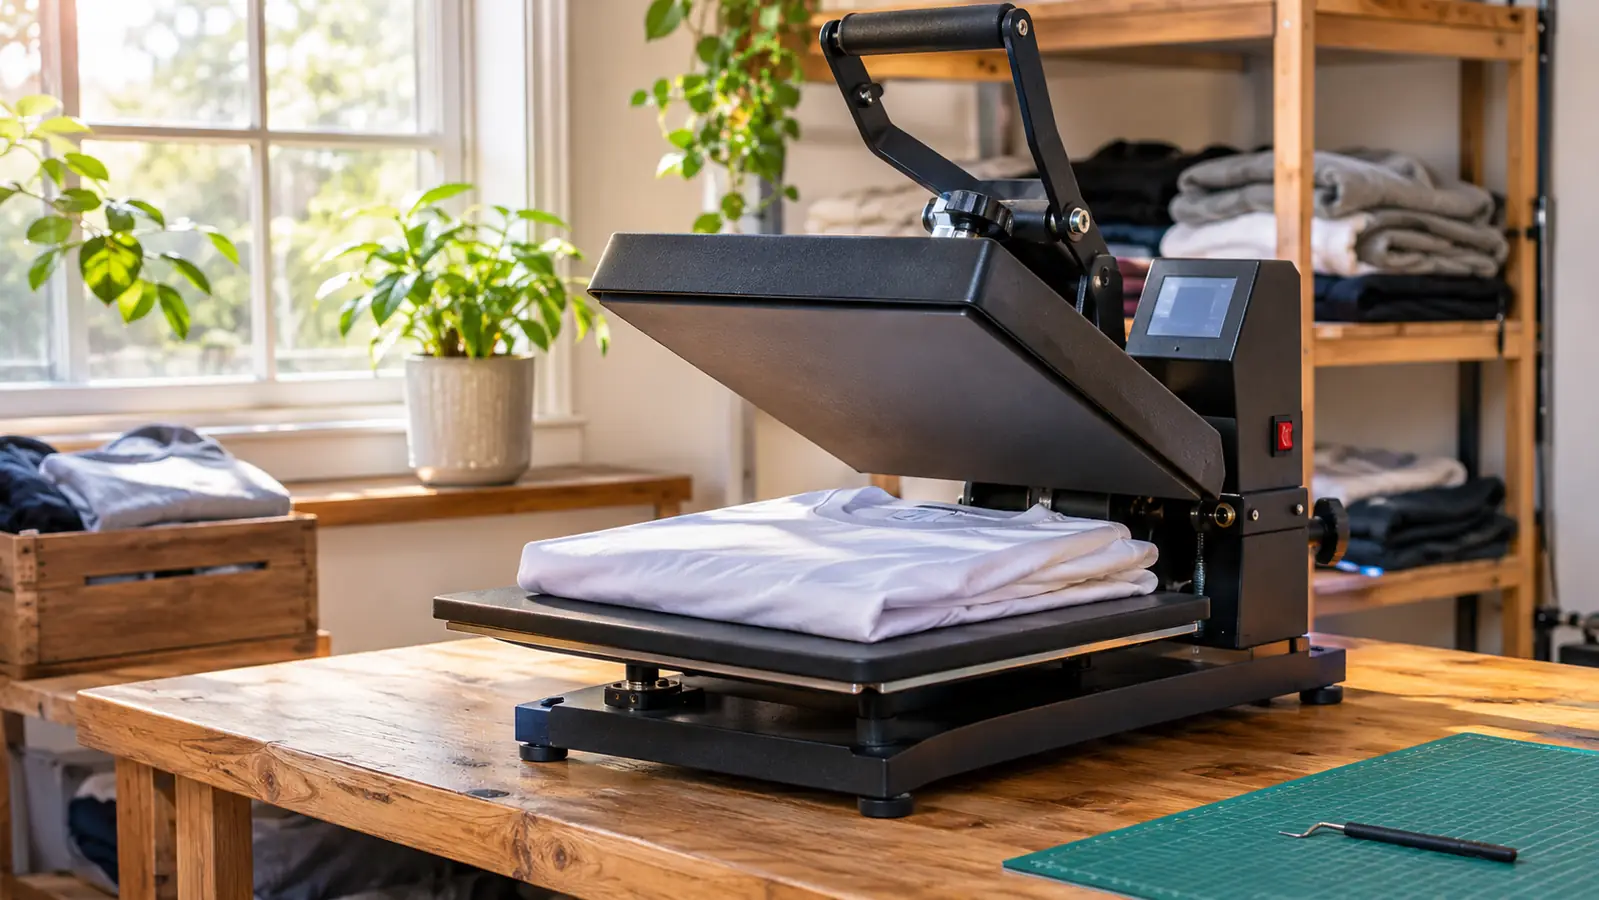
The first shirts I ever made came off a household iron and a cutting mat spread across the kitchen table. They looked fine on Christmas morning. Then they went through the wash and the letters curled up at the edges like dry leaves. I spent a while blaming the iron, and the iron was part of it, but the bigger problem was how I had cut and weeded the vinyl before it ever touched fabric. In the first week of February I bought a Fancierstudio 15x15 clamshell press and a roll of Siser EasyWeed at the same time, and the shirts I make now come out of the laundry still readable. Almost everything I got wrong in those first weeks happened at the cutting mat, not at the press.
Here is what nobody tells a beginner. Pressing is the easy part. You set a number, you pull a handle, you count to fifteen. Weeding is what decides whether a shirt looks handmade or just homemade. One torn serif or one stray island of vinyl left stuck to the carrier will show on the finished shirt no matter how perfect your temperature was. So this is the order I actually work in on a Tuesday evening after the dental office closes, with the numbers I actually use and the parts that still give me trouble after nine months of doing it.
The roll that ended my wash-day problem
Siser EasyWeed, 11.8 inches by 15 feet. It cuts on a standard mat, peels hot at 305 F for 15 seconds, and it is the vinyl I keep reordering.
Amazon Check Today's Price on Amazon →Step 1: Mirror the design and load the vinyl carrier side down
Heat transfer vinyl gets cut face down. The clear carrier sheet goes against the mat and the blade cuts into the back of the vinyl, which means the design has to be flipped before it goes to the cutter. In Design Space there is a Mirror toggle on the mat preview screen. Turn it on. Every time. I keep a sticky note on the laptop lid that says MIRROR in capital letters, because backwards lettering is the easiest mistake in this whole process to make.
Lay the vinyl on a standard grip mat with the carrier against the mat and the dull back facing up. EasyWeed comes off the roll at 11.8 inches wide, so a 12 inch mat holds it with a small margin on each side and you are not fighting the edges while you smooth it down. Press it flat with your hand, then run a brayer or the back of a fingernail over the whole sheet. Any spot that is not stuck down is a spot where the blade will drag, and a dragged blade wanders off the design.
Storage matters more than I expected. A 15 foot roll left lying on the table picks up lint and dust on the exposed face, and that grit ends up pressed between the vinyl and the shirt. I stand mine on end on the closet shelf and pull out only the length I am about to cut. It also keeps the roll from taking a set, which is what makes the first six inches of a stored roll want to curl.
One more thing about the mat. If your cut piece is longer than the mat, cut it in sections rather than letting the vinyl hang off the edge. A hanging piece lifts, and a lifted piece tears. My press takes a 15 inch platen, so I keep designs under about 11 inches tall and I have never once regretted that limit.
Step 2: Cut through the vinyl, not through the carrier
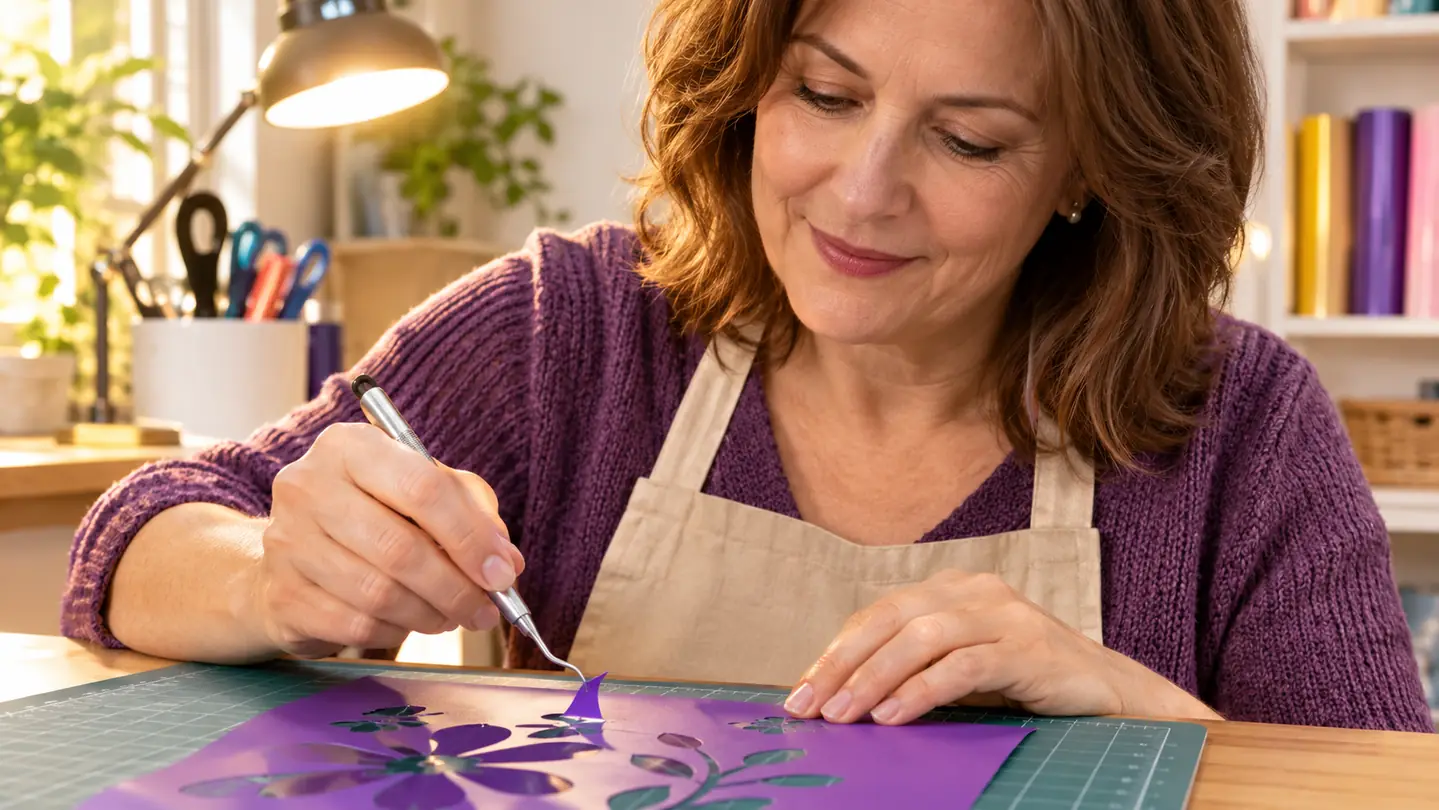
On my Explore Air 2 I set the material to Iron-On and use the fine point blade. A sharp blade matters more than any setting. If small letters are coming out ragged, or the vinyl is stretching instead of slicing, change the blade before you start adjusting numbers. A dull blade is the reason a lot of people decide their cutter cannot handle small text.
What you want after the cut is a clean slice through the vinyl with the clear carrier still intact. Pick at a corner with your hook. The vinyl should lift off the carrier the way a sticker lifts off its backing. If the carrier is scored, the design will come apart while you weed and there is no saving it. If the vinyl is only dented, run the cut again with more pressure. I cut a two inch scrap square every time I open a new roll, which takes about a minute.
Siser makes this vinyl at 90 microns thin. That is part of why it cuts cleanly at the Iron-On setting and part of why a finished design does not feel like a sheet of plastic sitting on the shirt. The dental office crew wore their shirts through a fundraiser walk in the heat and nobody said a word about the feel. The listing also notes it is CPSIA certified, which mattered when a coworker asked me for a shirt for her granddaughter.
The listing puts cotton at the top of the material list, along with polyester, nylon, mesh and a few others. I press it on cotton, because cotton is what people hand me, and the vinyl behaves the same way every time as long as I keep the temperature where it belongs. When someone brings me a polyester shirt, I steer them toward sublimation instead, since that is what polyester is actually good for.
Step 3: Weed the inside pieces first, and weed cold
Weeding is pulling away everything that is not the design. Do it at room temperature. Vinyl that is warm from your hands, or from sitting too close to the press, stretches and tears instead of snapping cleanly, and a stretched letter will not lie flat once it is on the shirt.
Start with the small pieces, the centers of O's and A's and the little islands inside letters, then work outward to the big waste. Use a weeder hook rather than a fingernail. When you are not sure whether a speck is vinyl or a shadow, hold the sheet up against the window. A bright lamp does the same job after dark, and after dark is when I do most of this.
For lettering under about half an inch tall I work in a different order. I leave those tiny inside pieces on the carrier, press the design as usual, peel the carrier while the shirt is still hot, and lift the specks off the fabric with tweezers while the vinyl is warm. Chasing them around the mat with a hook is slower and I lose more of them that way.
The roll I buy most is the white one, and white shows every smudge and every bit of lint on your fingers. I wash my hands before I weed and I keep the sheet on a clean piece of butcher paper instead of the ironing board cover, which is where the lint lives. Small letters are also just fiddly. A hook, a good lamp and the reading glasses I should have started wearing two years ago do more for my weeding than any gadget I have bought.
Keep the carrier sheet after you peel it. If a shirt needs a repair later, a scrap of the same vinyl and the carrier you saved will let you patch a corner without cutting a whole new design.
Step 4: Prepress the shirt, then position the design
Set the press to 305 F and let it come all the way up before the first shirt. While it heats, fold the shirt in half top to bottom and finger press the crease, then open it and fold it side to side and crease that too. Those two creases give you a center line and a chest line without measuring anything.
Before the design goes down, press the bare shirt for three to five seconds. Cotton holds moisture, and moisture under vinyl turns to steam inside the press and pushes the design up from underneath. That prepress is the step beginners skip and it is the step that decides whether the edges stay down. I do it even on a shirt straight out of the package.
Lay the design on the crease and hold it with heat tape, or use the one second tack this vinyl is known for. Touch the press down for one second, lift, and the vinyl grabs the fabric well enough to stay where you put it. That tack is also how I build a two color design. One second on the first layer, line the second layer up against it, then press the whole thing at the end.
For a left chest design I go about two fingers below the collar and two fingers in from the shoulder seam, then step back and look at it. A design that is a quarter inch off looks wrong from across a room even when it looks fine under your nose, and the distance is what tells you. I also check the whole thing against the press platen before I close it, because a design that runs off the edge of the platen gets a soft, under-pressed stripe along that side.
Step 5: Press for 15 seconds, peel hot, then cover it and press again
Close the press with medium pressure for 15 seconds at 305 F. Medium means the handle comes down with firm resistance and you can see the shirt compress under the platen. Too light and the vinyl sits on top of the fibers. Too heavy and the design spreads slightly and the fine edges thin out. My press is a clamshell that opens toward my face and hands, so I keep both hands on the handle and step back before I lift it.
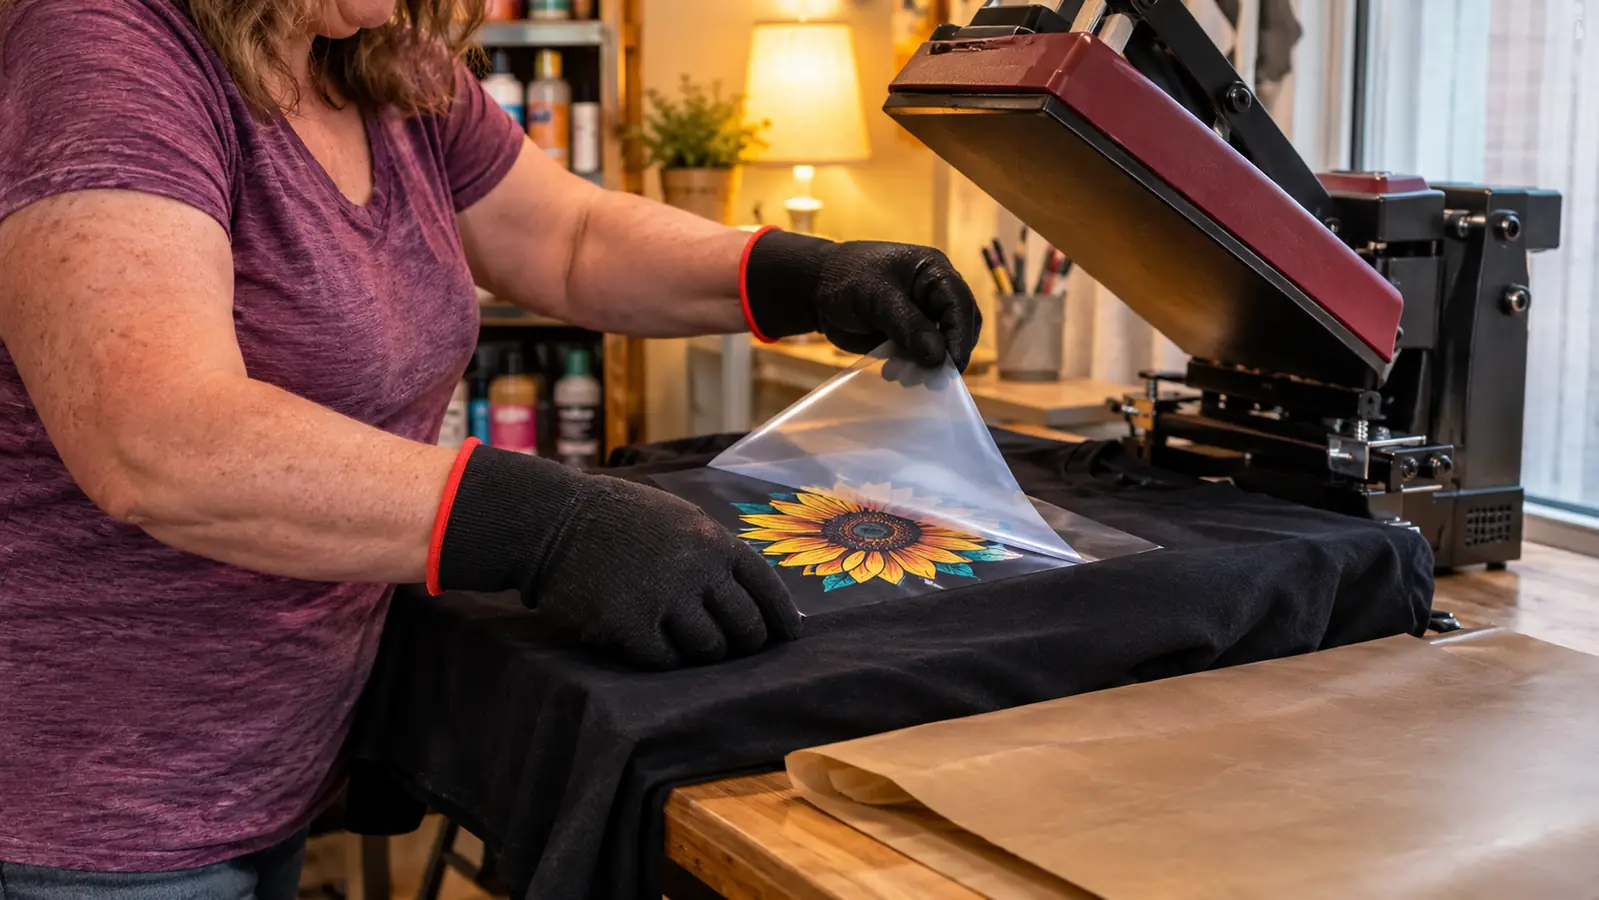
Peel the carrier while the shirt is still hot. Go low and slow, in one smooth motion, the way you would pull a bandage. Do not yank straight up. If a letter starts to travel with the carrier, lay the carrier back down, press for another five seconds, and try again. Peeling cold is what makes people decide heat transfer vinyl does not last, when the peel was the whole problem.
The last step takes five seconds. Cover the design with a teflon sheet or a piece of butcher paper and press again for three to five seconds. That second press settles the edges into the fabric and evens out the finish. After that the shirt can be worn, and when it gets washed it goes inside out on cold. The Christmas shirts from the iron did not survive that. The ones that come off this press have.
If a corner lifts on the second press, do not reach for the iron. Put the carrier back over the spot, close the press for ten seconds, and let it cool before you lift the shirt off the platen. Most of what looks like a vinyl failure is a corner that was hanging off the platen and never got pressure in the first place.
305 F, 15 seconds, peel hot. That is the entire pressing recipe. The shirt is won or lost back at the cutting mat.
What Else Helps
A cheap infrared thermometer taught me not to trust the display on my press. I check the platen before the first shirt of the evening. It is usually within a few degrees, and a few degrees is enough to matter on a thin vinyl. Heat gloves matter as much, because the platen and the shirt both stay hot long after the handle comes up, and I have no interest in finding out how hot.
Keep a scrap bin next to the mat. Half of what I weed goes in there and half of it comes back out later for a test cut on a scrap shirt, which is how I check a new blade without risking real work. A teflon sheet, a roll of heat tape, a weeder hook and a pair of tweezers are the whole toolkit. I bought a few things I did not need before I worked that out.
The 15 foot roll is the size that makes sense for me because I cut several shirts in one sitting. If you are making one shirt for one birthday, a smaller cut piece will do. This one is 11.8 inches wide, which fits a 12 inch mat without trimming, and that is the whole reason I buy it in that size rather than in a sheet pack.
If you want the long version of how this roll has held up over nine months, there is a full hands-on review of it elsewhere on the site, and a head to head against the HTVRONT roll I have only ever tried at my friend Pam's garage. The short version is that I keep buying the same roll and I have not found a reason to switch.
One setting, fifteen seconds, and a shirt that survives the laundry
Siser EasyWeed comes off the roll at 11.8 inches wide, cuts clean on a standard mat and peels hot. It is the vinyl I rebuy without thinking about it.
Amazon Check Today's Price on Amazon →