The first time I set up a sublimation printer, I did it backward. I had the heat press already humming and a shirt laid out, and I figured the printer was the easy part. It was not. I clogged a converted EcoTank by late April and wasted a Saturday on six blurry tumblers for a friend's bridal party. The fix was not a better trick. It was slowing down and setting the Epson SureColor F170 up in the right order.
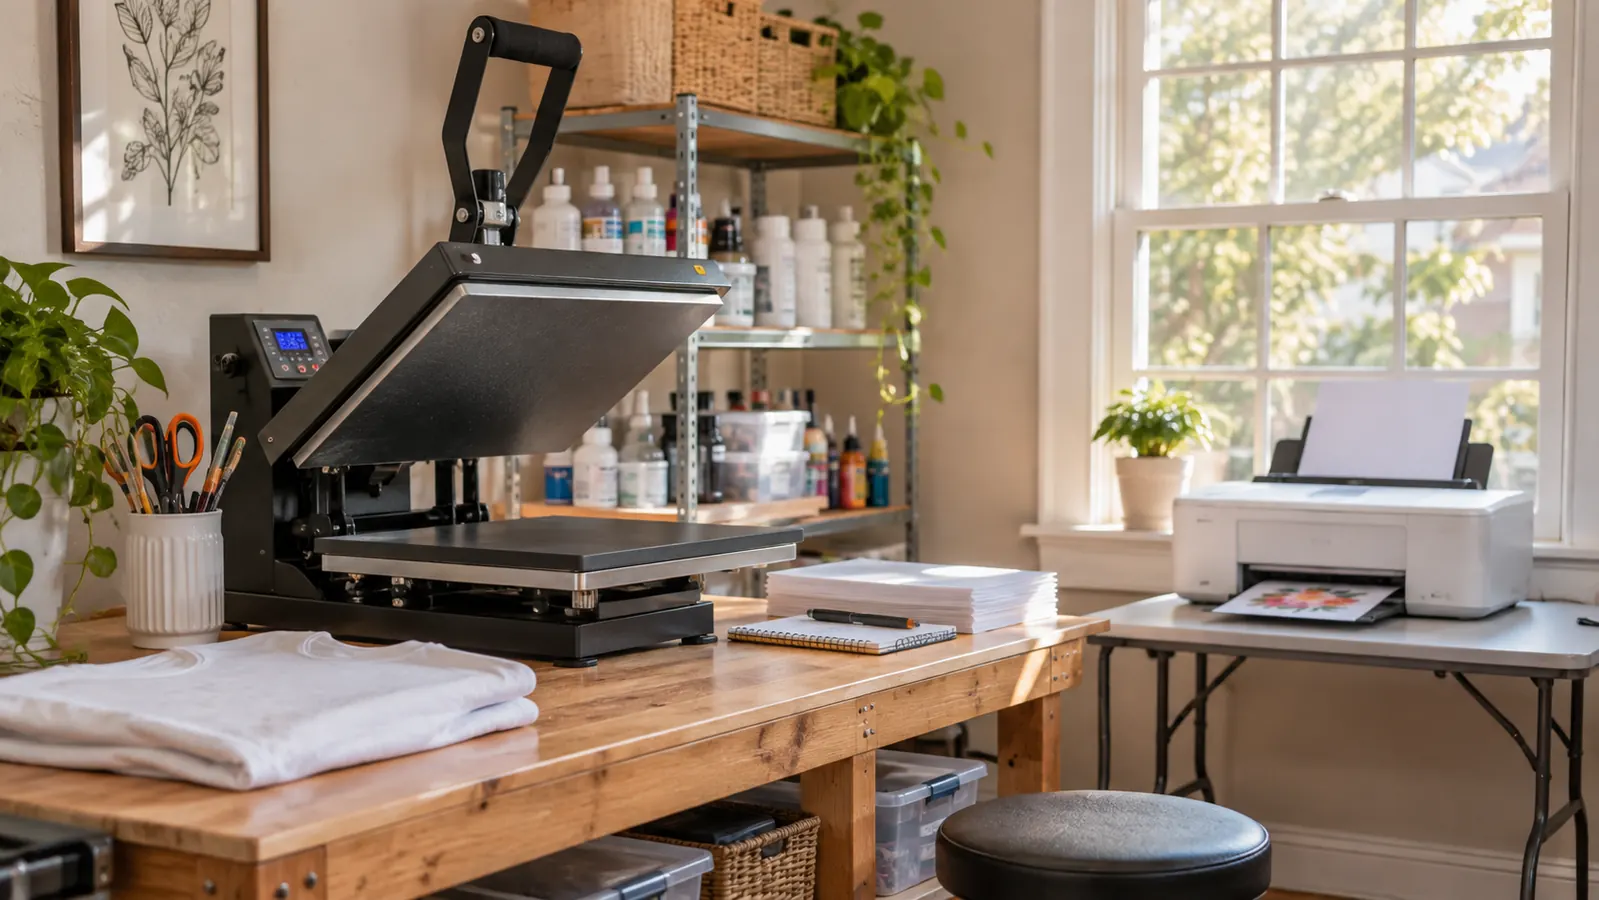
I am not a professional printer. I work weekdays at a dental office in Evansville, Indiana, and I run a small shirt and tumbler project out of my spare bedroom on evenings and Saturdays. My husband Gary built the workbench that holds my 15 by 15 clamshell press. The printer sits on a folding table by the window. I have owned the Epson F170 since the first week of May, and I use it for every sublimation print I make. It is limited to 8.5 x 11, it is print only, and it does not print white. Those limits are the first thing to understand before you unbox it.
Get the printer that ended my clogged-printhead Saturdays
The Epson SureColor F170 is the compact 8.5 x 11 dye-sublimation printer I use for every polyester shirt and tumbler wrap now. It comes with genuine Epson ink bottles, a user guide and a power cable, and it uses auto-stop bottles for refills. The PrecisionCore printhead and the 150-sheet auto-feed tray are the two details I notice most in daily use.
Amazon Check today's price on Amazon →Step 1: Give it a real table and its own outlet, not the kitchen
The first mistake to avoid is treating the printer like a toaster, parked on a kitchen counter next to the coffee maker until you need it. Do not do that. Sublimation ink and paper want a stable, dry spot, and you want a spot where you are not also making dinner. I use one spare bedroom. Gary's workbench holds the press. The printer lives on a second folding table by the window, which I crack open when I press. I never press in the kitchen and never in the garage.
Check the space before you unbox. The Epson F170 is 14.8 inches wide, 13.7 inches deep and 7.4 inches high, and it weighs 16 pounds. That is small enough for a folding table, but leave room behind it for the power cable and room in front for the paper tray. The printer is network-ready, but I run mine from one Windows laptop and keep the laptop on the same table. A stable table matters more than a fancy one.
Unbox on a clean surface and keep the cardboard. You should have the printer, a set of genuine Epson sublimation ink bottles, the user guide and the power cable. The guide is thin, but read the ink setup page before you touch a bottle. I skipped that page the first time and paid for it with stained fingers and a lot of paper towels.
Step 2: Fill the ink bottles slowly and let the printer charge
The Epson F170 comes with auto-stop ink bottles. That means the bottle stops on its own when the tank is full. You do not squeeze. You do not top it off. You stand the bottle over the correct tank, let it drain, and pull it away when it stops. I fill mine over a sheet of scrap paper on the folding table, and I keep the bottles upright after. The first fill takes a few minutes because the printer has to charge the lines, and you should not unplug it while it does.
Use the genuine Epson ink that comes in the box for the first fill. The listing names Epson T49 as the compatible cartridge, and the bottles have auto-stop spouts. I have not run a third-party ink in mine. The one time I tried to save a little money on the converted EcoTank, I ended up with a clog I could not clear. That is not a rule I can prove for every printer, but it is the rule I follow now.
Once the bottles are in, close the covers and let the printer finish its setup. Do not load paper until the software tells you to. Do not pull the power cord to move the table. I know that sounds obvious. I did it anyway because I wanted to slide the table six inches to the left, and I had to start the charge over. Give it a clear half hour where nobody needs the table.
Step 3: Load sublimation paper the right way and print one test sheet
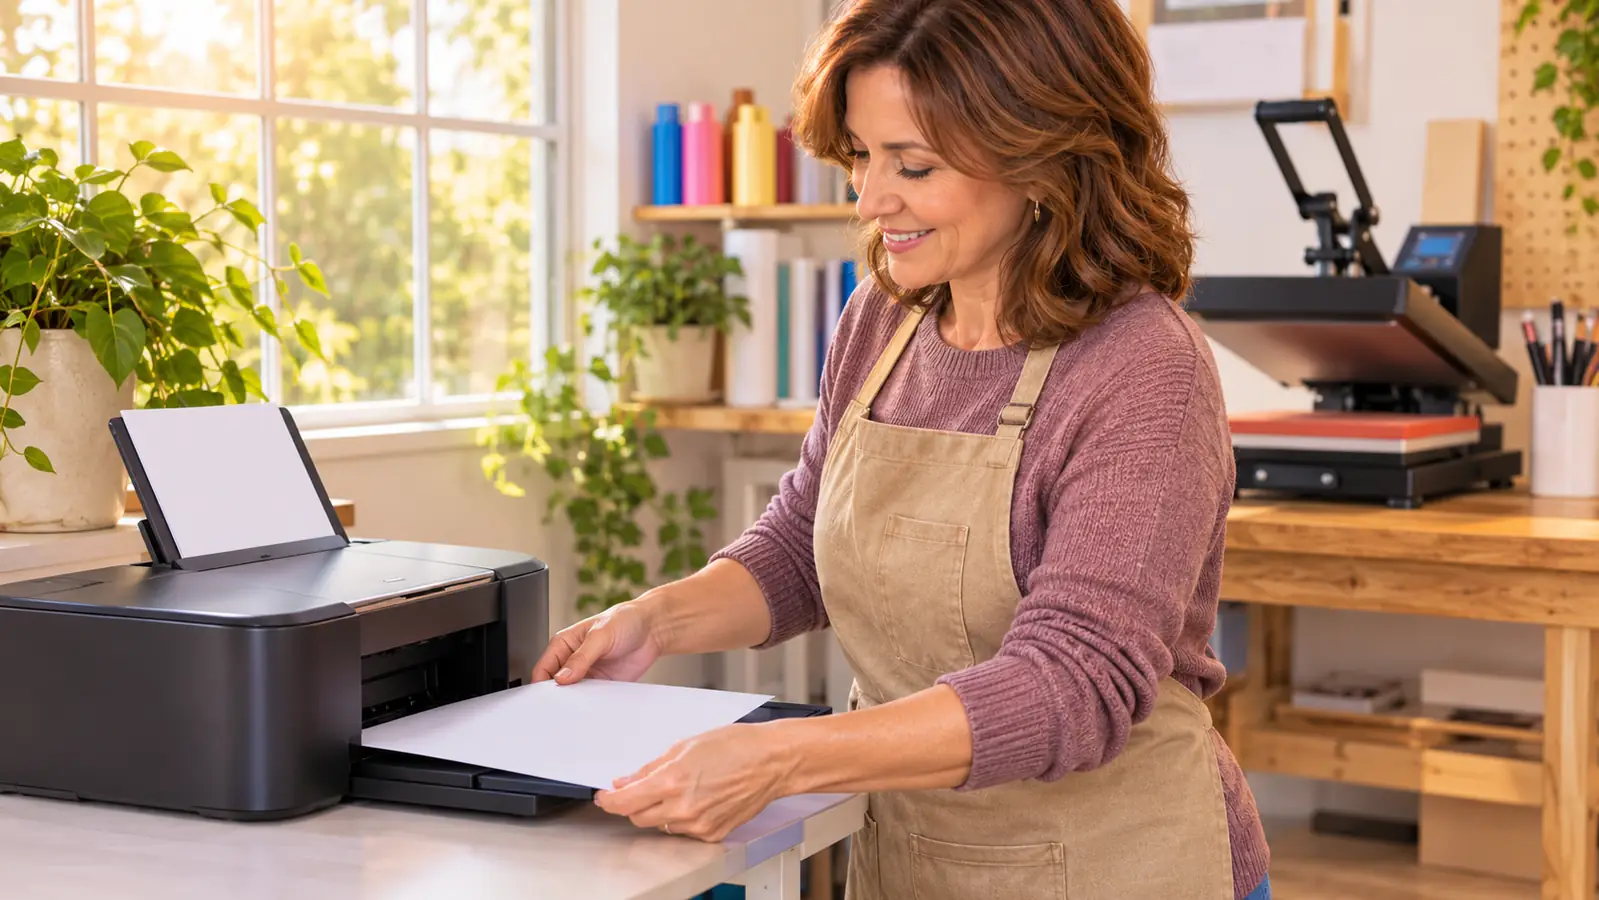
Sublimation paper is not copy paper. I use A-SUB 8.5 x 11, 110 sheets, 125g, and it only works with sublimation ink. The print side is easy to mix up, especially when you are nervous. I check the corner of the sheet every single time before it goes in the tray. If you load it upside down, the ink sits on the wrong side and the transfer comes out faint.
The Epson F170 has a 150-sheet auto-feed tray, but do not fill it like you are printing a report. I put in one or two sheets for a test. Set the paper size to 8.5 x 11 in the print dialog, choose the paper type that matches your sheet, and print a small test design first. A simple block of text and a photo with skin tones will tell you more than a full sheet of black. If the test looks washed out, check the paper side before you change a single setting.
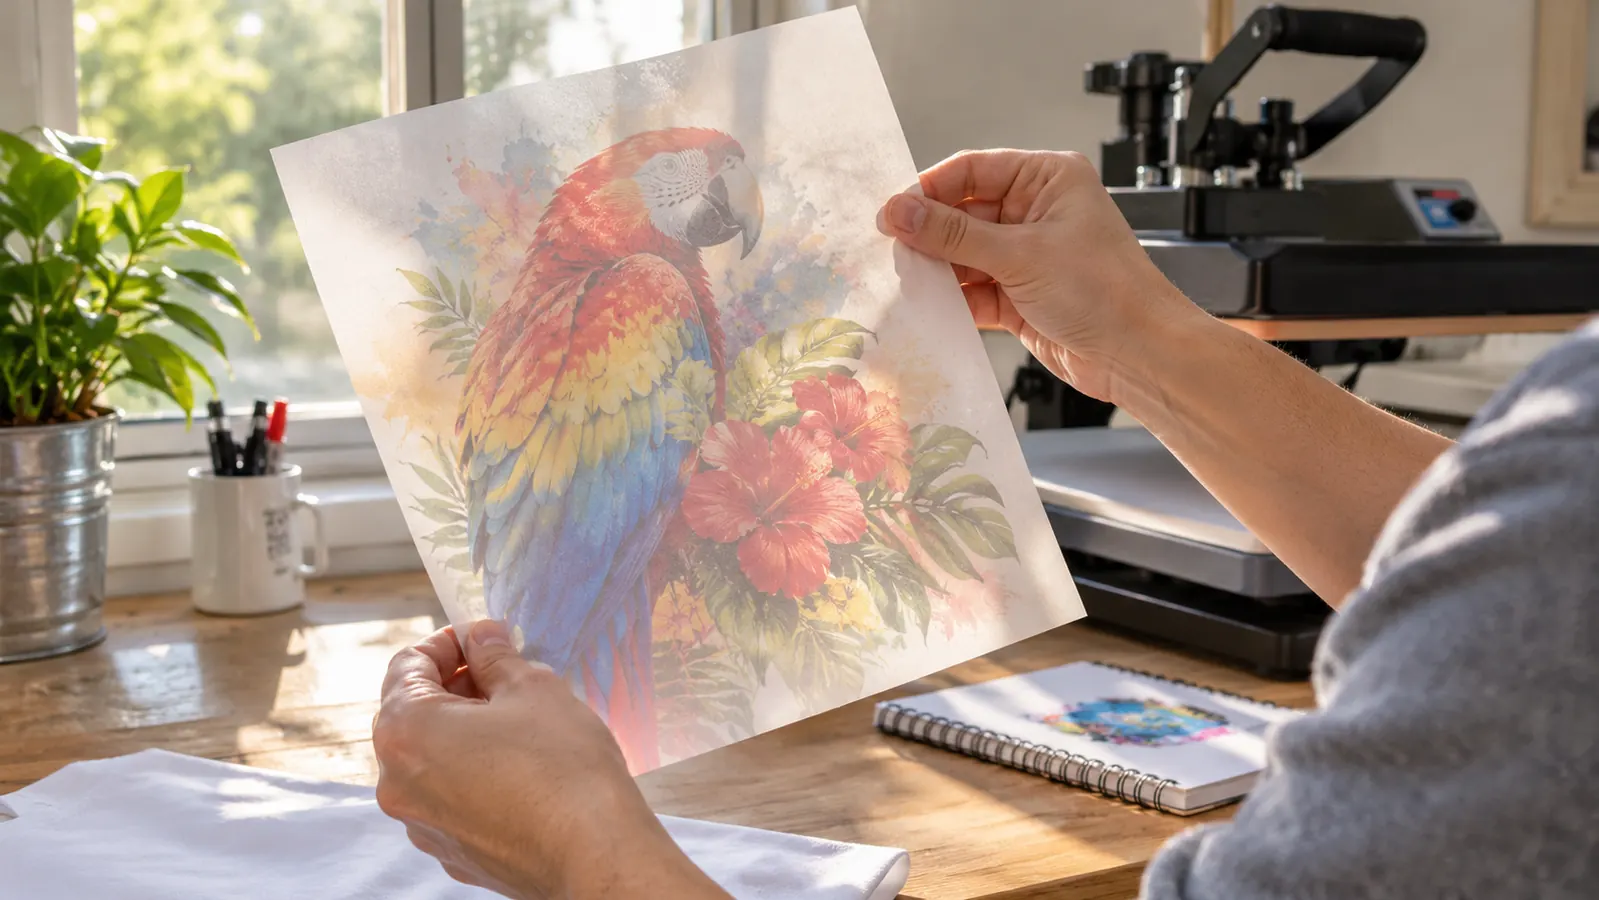
Mirror the design before you print. I do this in my design software, not in my head. A mirrored print is correct for sublimation because you press it face down. A print that is not mirrored will come out backward on the shirt, and there is no fixing that with more heat. I keep a small notebook by the laptop and write down the paper, the print setting and the press setting for each batch. That notebook has saved me more than any online chart.
Step 4: Match the print to the press settings before you touch the shirt
The printer only puts ink on paper. The press does the rest. My press is a Fancierstudio 15 by 15 clamshell, and for a polyester shirt I set it to 385 F for 50 seconds. I press on a teflon sheet or a sheet of butcher paper, and I use heat tape to hold the print flat. Light pressure, not a hard slam. The shirt needs to be smooth before the print goes down, and a lint roller is worth keeping on the table.
Do not press a sublimation print on cotton. It will not bond the way you want. I use white or light polyester shirts for sublimation and cotton shirts for vinyl. My vinyl setting is 305 F for 15 seconds with Siser EasyWeed, peeled hot. Those are two different jobs, and mixing them up is how beginners waste blanks. If you are printing an 8.5 x 11 design for a shirt, keep the art inside that size. The Epson F170 cannot print a bigger sheet, so a full back print is out unless you piece it, and I do not piece mine.
Let the press come back to temperature between shirts. The display can be off a little, so I check the platen with a cheap infrared thermometer before the first shirt of the day. I also keep the window cracked and a heat glove on the hand that holds the shirt. The clamshell opens toward your face and hands, so slow down. A good print can still be ruined by rushing the press.
Step 5: Press tumblers with a tumbler press, not a toaster oven
My first tumblers were a mess because I used the wrong tool. From mid February through late April I used a countertop toaster oven and shrink wrap sleeves. That oven sat on the folding table by the open window and was used for crafts only, never food. It is not a sublimation oven, and it did not give me even heat. In late April I did six tumblers for a friend's bridal party and they came out blurry with streaks. The same afternoon the converted EcoTank clogged. That was the day I changed the setup.
In the first week of May I bought the Epson F170, the A-SUB paper and the HTVRONT Auto Tumbler Heat Press together. I took the toaster oven to the recycling center. The tumbler press is the only thing that presses my tumblers now. For a 20 ounce straight tumbler I set it to 365 F for 150 seconds. The press clamps automatically. The R button stops the heating and releases the pad, and I use that button every time before I reach for the tumbler.
The tumbler stays very hot after the pad releases. I wear heat gloves and set it on a folded towel, not on the folding table bare. The press does one tumbler at a time. It takes tumblers from 2.9 to 3.2 inches across and 10 to 30 ounces, but I only buy 20 ounce straight tumblers. Tapered tumblers do not sit right in mine, and I am not going to pretend they do. The next Saturday I remade the six tumblers with the new printer and press, and they came out sharp. That is the whole reason I trust this setup.
Six blurry tumblers in April, six sharp tumblers in May. The difference was the printer and the tumbler press, not a new design.
What Else Helps
Keep a weekly test print on the calendar. The Epson F170 wants to be used. If I have a week with no orders, I print a small color block on a scrap sheet of A-SUB paper. It takes two minutes, and it keeps the ink moving. I also keep the paper pack flat in a drawer because it curls in a humid room. A curled sheet feeds crooked, and a crooked sheet wastes a print.
Store the ink bottles upright with the caps tight, and keep the printer out of direct sun. The window by my table gives good light, but I pull the curtain in the afternoon so the bottles do not sit in a hot beam. I keep the user guide in the drawer with the paper, not in a filing cabinet. When something sounds wrong, I check the guide before I search online. The answer is usually a paper setting or a paper-side mistake, not a broken printer.
Write down every batch. I note the shirt or tumbler, the paper, the print setting, the press temperature and the time. When a coworker asks for the same shirt in a different size, I do not have to guess. This is also how I know the F170 has been steady for me since May. It is not a production machine, and I do not treat it like one. It prints 8.5 x 11 sheets, and that is enough for the small orders I take.
Start with the printer, then add the press you actually need
The Epson SureColor F170 is the 8.5 x 11 dye-sublimation printer I set up first, and it is still the one I use. It comes with genuine Epson ink, auto-stop bottles, a 150-sheet auto-feed tray and the user guide. Pair it with a tumbler press for tumblers and a flat press for shirts, and keep the toaster oven out of the craft room.
Amazon Check today's price on Amazon →