
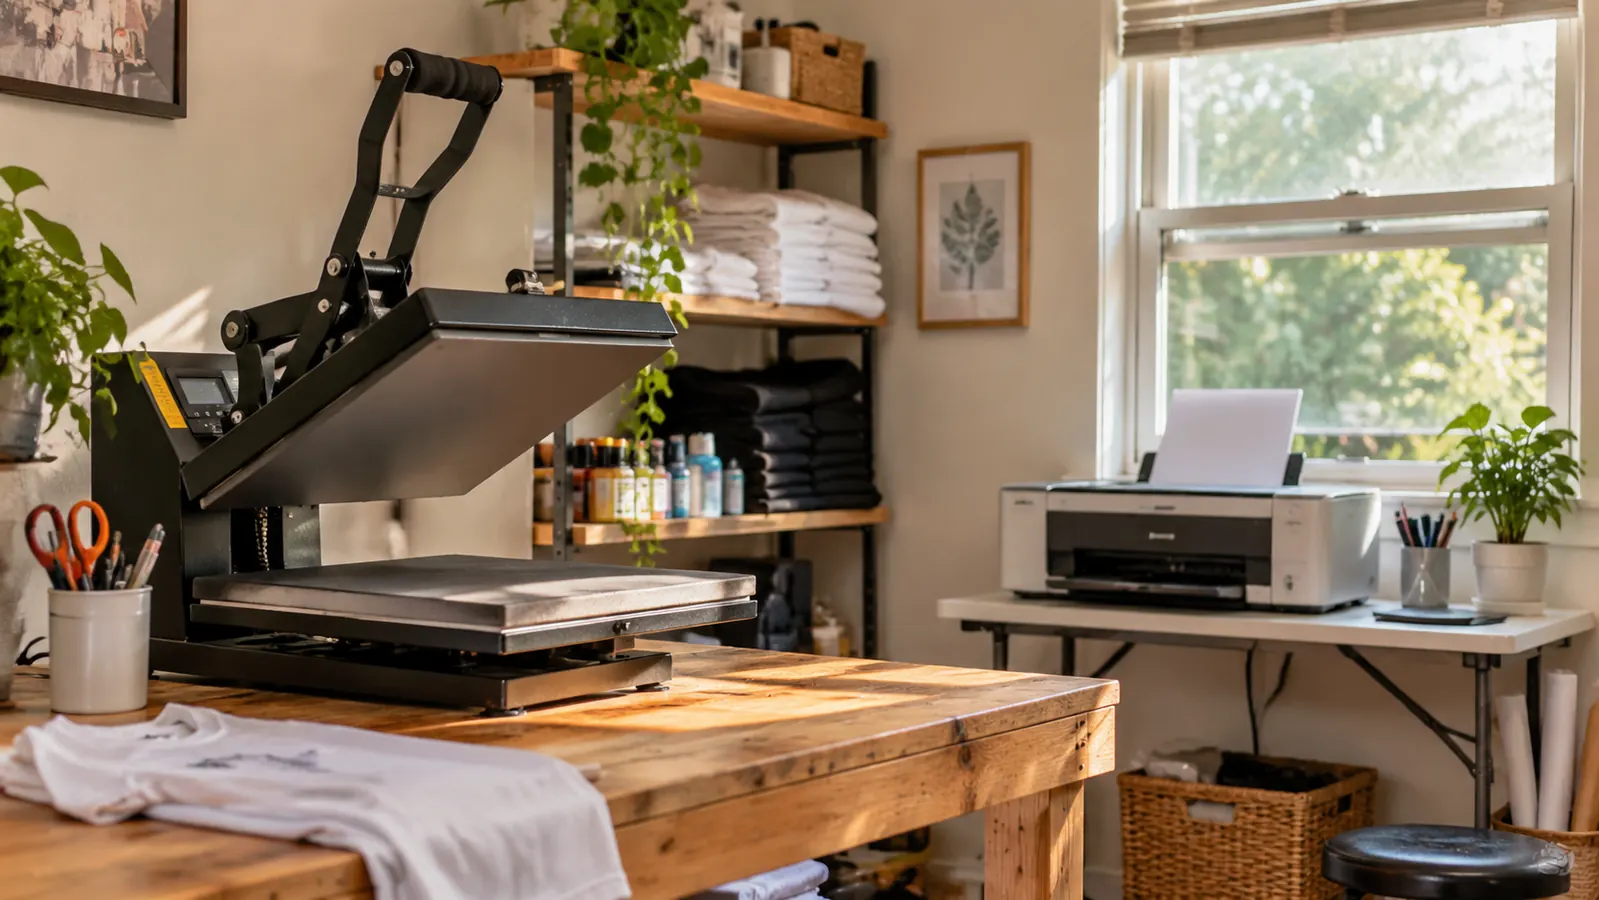
The first pack of sublimation paper I ever opened, I loaded upside down. I did not know there was an upside down. I pressed six tumblers for a friend's bridal party, unwrapped them one at a time on the workbench my husband Gary built me, and watched my crisp little monogram come out looking like it had been left in the rain. My converted EcoTank clogged the same Saturday afternoon. That was late April, and it was the closest I have come to putting the whole thing in a closet.
In the first week of May I ordered three things with my own money: an Epson SureColor F170, an HTVRONT tumbler press, and a pack of A-SUB Sublimation Paper, 8.5 by 11, 110 sheets. I remade those six tumblers the next Saturday and they came out sharp. Six months later I am still printing on the same paper, and this is what I would tell a beginner at the craft fair table who asked me whether the paper actually matters.
The Quick Verdict
Sharp small text on polyester shirts and straight tumblers, consistent sheet to sheet, and one thing you have to learn: the coated side is not marked. Six months in, this is the pack I reorder without shopping around.
Amazon Check Today's Price →The Paper That Made My Bridal Remake Look Like a Different Order
A-SUB Sublimation Paper, 8.5 by 11 inches, 110 sheets to a pack. It works only with sublimation ink, so check your printer before you check anything else. Then check which side is coated.
Amazon Check Today's Price on Amazon →How I've Used It
Everything I print comes off a SureColor F170, so I am locked to 8.5 by 11 inches whether I like it or not. That makes this pack a straight fit. Nothing to trim down from a roll, nothing oversized to store. I keep the pack flat in a drawer under the folding table by the window, pull one sheet at a time, and check the coated side at the printer before the sheet ever goes in the tray.
My settings have not changed since May. Polyester shirts go on the Fancierstudio 15 by 15 clamshell at 385 F for 50 seconds, teflon sheet over the design, and I peel the paper back while it is still warm because that is when it releases cleanest. Tumblers go in the tumbler press at 365 F for 150 seconds. Every design is mirrored before it prints, because sublimation pushes the image into the coating face down and it comes out backwards otherwise. I have that written on a sticky note on the workbench, and I still check it.
What I watch is the sheet coming out of the printer. On a good sheet the ink sits on the surface and looks almost dry to the touch. On a bad sheet, or a sheet I loaded the wrong way, the image looks thin and washed and the corners feel tacky. If the print looks weak before it touches fabric, no amount of heat will rescue it. I learned that the slow way, and now I check before I press instead of after.
The Coated Side Is the Whole Job
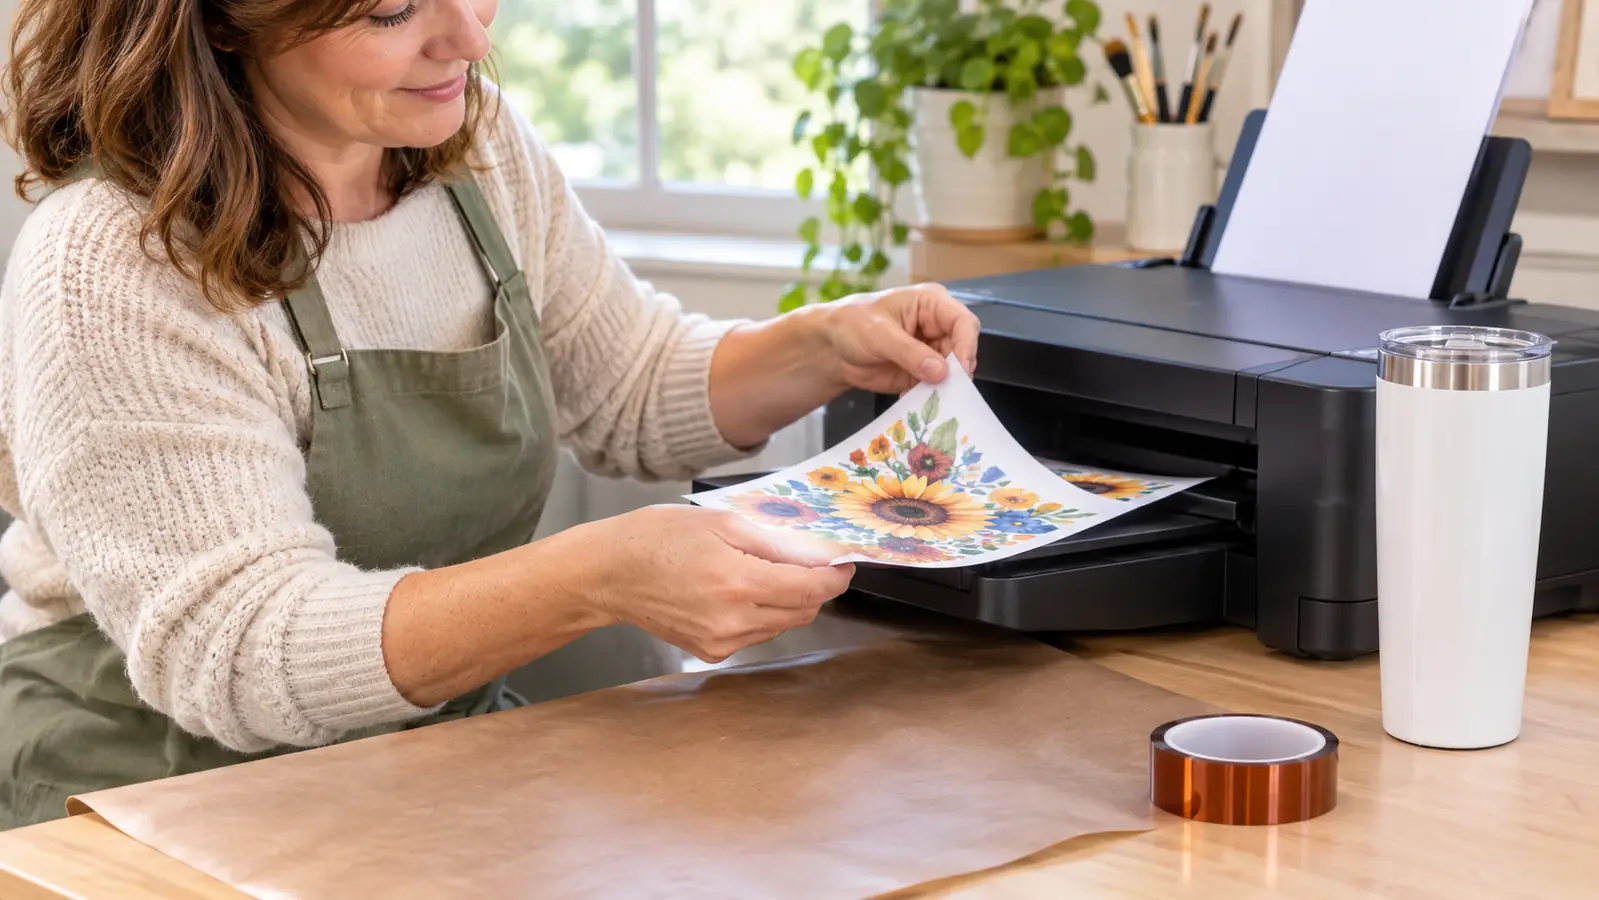
The paper is coated on one side and only the coated side transfers. You would think that would be printed on the wrapper in letters a foot tall. It is not. The two faces look close enough that I check every single sheet, and while I have gotten faster at it, I have never gotten confident enough to stop.
Two things work for me. The coated face has a faint slickness under my thumb, a little like the backing on a label. It also catches light differently, so if I hold the sheet at an angle toward the window, the coated side throws a soft sheen while the back stays flat and dull. It takes about a second. I do it standing at the printer rather than at the workbench, because the printer is where the mistake actually happens.
When you get it wrong, you know. The print comes out thin, and when you press it almost nothing moves into the shirt or into the tumbler coating. One sheet printed on the wrong face is not the end of the world, but it is exactly the kind of thing that makes a beginner decide sublimation does not work when the real problem was one flip of the paper.
What Sharp Looks Like on a Polyester Shirt
The shirt I judge every batch against is a light gray 100 percent polyester tee I made for a coworker at the dental office. Small text, a thin line border, and a date in the corner. On the generic paper I used through the spring, the thin border went soft at the edges and the small text filled in on itself. On A-SUB the border held as a border, and I could read the date without leaning in.
That is the whole value of this paper in one line: small details survive. The blank matters as much as the sheet, though. Cotton will not take sublimation in my experience, which is why I still keep a Siser EasyWeed roll and cut vinyl on the Cricut for every cotton shirt that comes through this house. The listing says the paper is for white or light colored polyester, for material with cotton content of 30 percent or less, and for coated blanks. My shirts are all 100 percent poly, so I cannot speak to the blend end of that.
Colors land close to what is on my laptop screen, with one caveat I would tell anyone. Whatever the shirt is underneath tints the print. A white shirt gives you the design as designed. A light gray shirt pulls everything a shade cooler. I plan around that now instead of being surprised by it, and I reach for lighter blanks when a design has a lot of pale color in it.
Tumblers: 365 Degrees for 150 Seconds
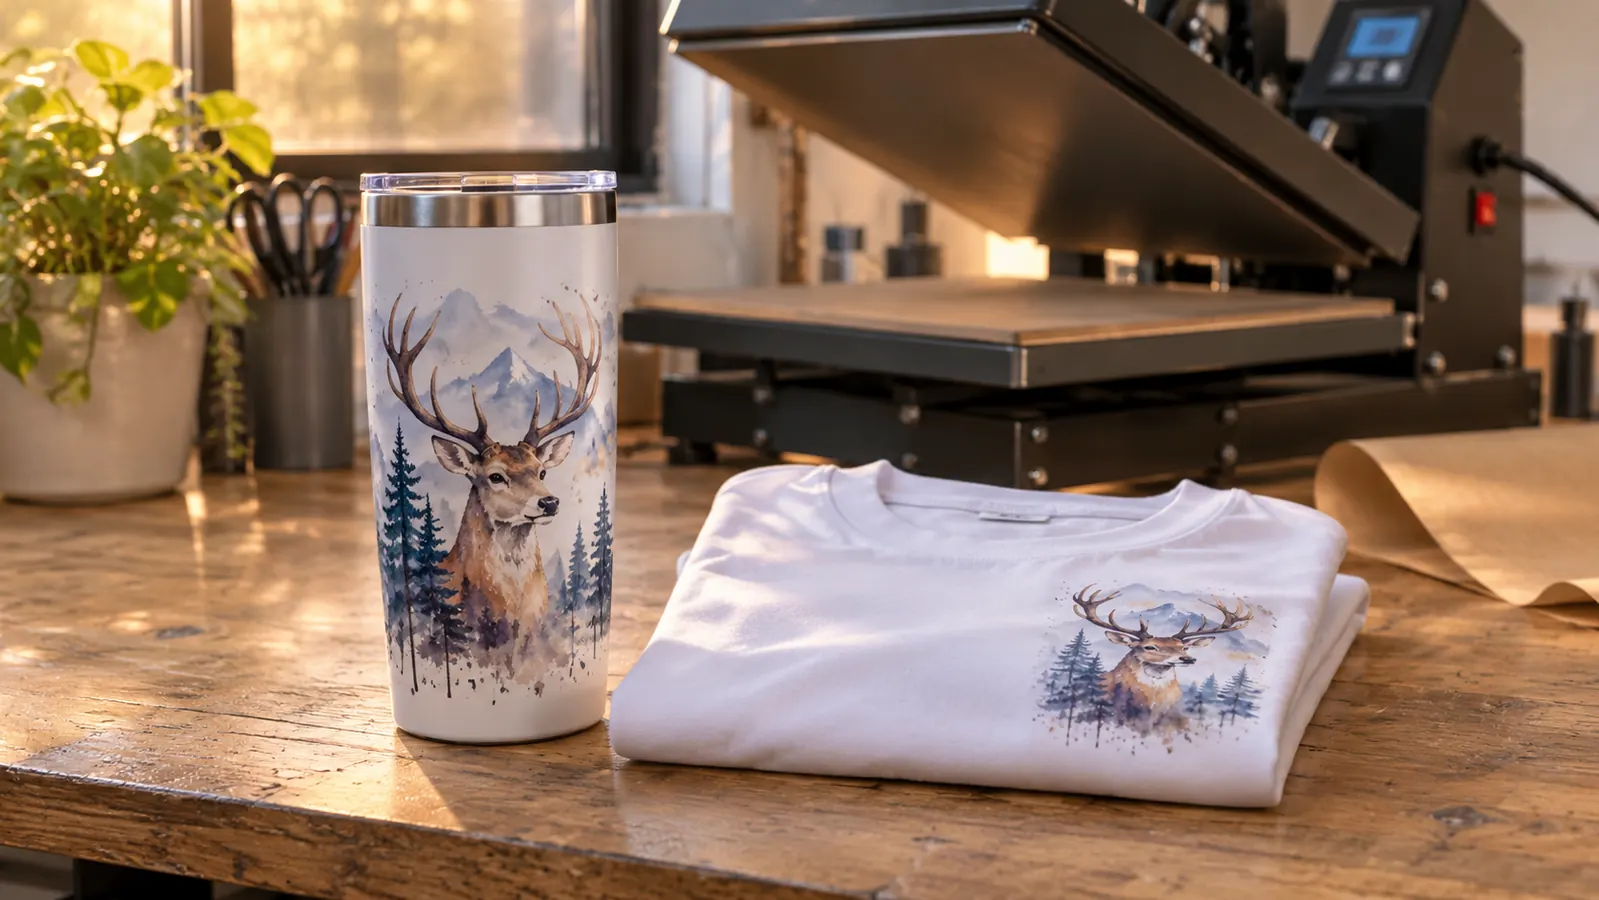
The bridal party tumblers that started all of this were 20 oz straight tumblers, and they are still most of what I make. Straight walls matter, because the tumbler press clamps down on the body and a tapered tumbler will not sit right in it. My numbers have not moved: 365 F, 150 seconds, gloves on when I open the press, because that tumbler comes out genuinely hot and stays that way for a while.
A tumbler wrap fits on a letter sheet with room to spare, so it is one sheet per tumbler and a strip of waste at the edge. Seams are where this paper shows its manners. If the wrap is tight and the edges are taped down with heat tape, the seam comes out as a thin, clean line. If the paper shifts a quarter inch, you get a ghost line you will see every time you pick up the cup. I tape more than I think I need to and I have not regretted it.
I changed three things between the blurry bridal set and the sharp remake, so I will be honest that I cannot hand all the credit to the paper. The printer was new and the tumbler press replaced a countertop toaster oven and shrink wrap sleeves. But the paper was the part I could hold in my hand and check before I pressed, and it is the part I have not had to think about since. That is about the highest compliment I can give a supply, and it is why I think the paper matters more than most beginners expect.
Six tumblers that looked rained on in April came out sharp in May on the same designs. The paper was one of three things I changed, and it is the one I have not had to think about since.
How It Compares to the No-Name Paper I Started With
The generic paper I used from February to April was bought in a hurry and I could not tell you the brand now. On a plain block of color it was fine. On anything with thin lines or small text, the edges went soft, and I found myself designing around the paper, making letters heavier and skipping fine detail altogether. That is a bad trade when you are making shirts for people you sit next to at work. Every design had to survive the paper instead of the paper carrying the design.
Pam, my craft fair friend with the bench in her garage, uses HTVRONT sublimation paper, and I have pressed on it at her place a few times. It behaves like a normal coated sheet and I would not tell anyone it is a bad choice. What I can tell you is that the difference between A-SUB and the no-name pack I started with was obvious on the very first shirt, and the difference between A-SUB and the HTVRONT paper was not obvious to me at all. If you are already set up with either one, I would spend your money on blanks and tape instead.
Curling, Humidity, and How I Store It
This paper curls in a humid room. My spare bedroom has the window cracked open whenever the press is running, and Evansville in July is not a dry place. A sheet left sitting out will lift at the corners and drag against the print head, and a dragged sheet is a wasted sheet. I keep the pack flat in a drawer, inside the sleeve it came in, and I take out what I need instead of fanning the whole stack on the table.
110 sheets has carried me about six months of weeknight evenings and Saturdays, which tells you roughly how much I print. When I get down to the last few sheets I will order the same pack again. I am not someone who experiments with supplies once something works, mostly because I have a day job and a limited number of evenings, and I would rather spend them pressing than testing.
Where It Falls Short
The print side is the honest flaw. An arrow, a watermark, a colored stripe on the back would cost the manufacturer almost nothing and save every beginner a wasted afternoon. I check every sheet and I will keep checking every sheet until the day I stop printing.
The size limit is real, though that is my printer as much as the paper. 8.5 by 11 means no full back panel in one pass and no wrapping a large tumbler in a single piece. And if cotton is on your table, this is not the product for that conversation. Vinyl is. I keep the Siser roll for every cotton shirt and I do not try to make sublimation do a job it cannot do.
One more thing worth knowing: it is a 125 g coated sheet and it will mark if you crease it, and a creased sheet presses a crease. I keep a few spares by the printer and I do not try to flatten a bent sheet back into service.
What I Liked
- Small text and thin borders hold, which is the whole reason I switched
- Consistent sheet to sheet across six months of weeknight printing
- One letter sheet covers a 20 oz straight tumbler wrap with room to spare
- 110 sheets lasts me months at my pace
- No settings change on the F170, it just prints
Where It Falls Short
- The coated side is not marked, so you check every sheet by hand
- Curling in a humid room means it has to be stored flat
- 8.5 by 11 only, no larger format
- Nothing here for cotton shirts
Who This Is For
This is for the person with a sublimation printer already sitting on a folding table who is tired of designs that look fine on the laptop and soft on the shirt. If your small text fills in and your thin lines go fuzzy, and you have already ruled out the printer and the heat, the paper is the next place to look. Start with one pack of 110 sheets rather than three, print a test shirt with fine detail you actually care about, and judge it on that.
It is also a good fit if you make a lot of 20 oz straight tumblers, because one sheet covers a wrap with almost nothing left over. And it suits someone like me who prints in bursts on weeknights, since the sheets keep fine in a flat drawer between sessions.
Who Should Skip It
Skip it if you are printing anything larger than letter size, because you would be cutting this paper down and throwing away the difference. Skip it if cotton is your main blank, since sublimation will not bond to cotton and vinyl is the better answer. Skip it if you already print happily on another coated sheet and your detail comes out sharp, because there is no reason to switch mid-project.
If Fuzzy Small Text Is What Sent You Looking, Start Here
One pack of 110 letter sheets has carried me through about six months of weeknight and Saturday work. It is the same paper I will order again when this one runs dry.
Amazon Check Today's Price on Amazon →