The first shirt I ruined was not ruined by a heat press. It was ruined by an iron. Back in December I made a dozen Christmas shirts at the kitchen table with the Cricut, a roll of craft vinyl, and the same iron I use on Gary's work shirts. They looked fine hanging on the chair. Then they went through the wash and the letters curled up like old tape. That is the honest reason I bought a Fancierstudio 15x15 clamshell in the first week of February, and it is the reason I am writing this down.
If you are where I was, you have watched enough videos to believe you need a shop, a heat gun, a pressing pillow, three kinds of paper, and a routine memorized to the second. You do not. You need one flat surface that does not rock, one outlet that is not shared, one blank shirt you do not care about, and the patience to press a scrap before you press something you intend to hand to another person. I am not a printer. I answer phones at a dental office in Evansville, Indiana, and I press shirts in the spare bedroom on weeknights and Saturdays. Here is the order I actually do things in.
The press that ended my iron experiment
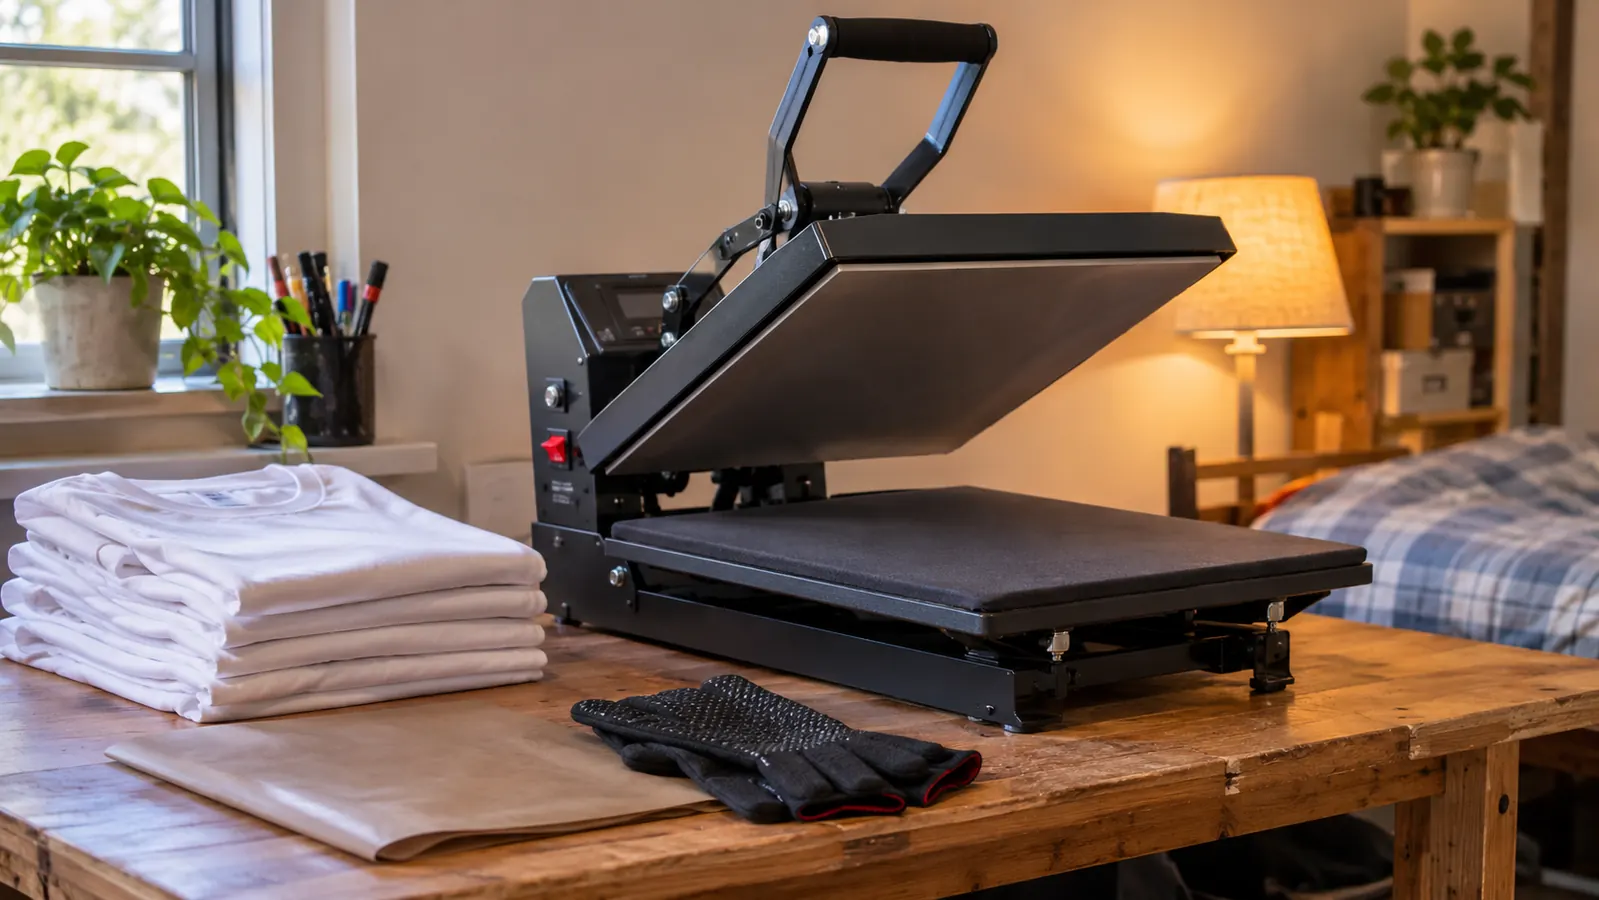
A 15x15 clamshell with digital time and temperature control, 1800 watts on its own circuit, and a Teflon coated platen. Every setting in this guide was worked out on this machine.
Amazon Check Today's Price on Amazon →Step 1: Give the Press Its Own Outlet and a Surface That Does Not Move
The first thing I did with the Fancierstudio was not pressing. It was finding where the machine lives. Gary built the workbench in the spare bedroom out of two-by-fours and a doubled sheet of plywood, and it does not wiggle when you lean on the handle. That matters more than it sounds. A clamshell pushes down and rocks back, and if the bench moves, your design walks off the shirt somewhere between the platen and the fabric.
The second thing is power. The press pulls 1800 watts at 110 volts, which is enough that it wants a circuit mostly to itself. Mine is plugged straight into the wall outlet Gary added for it, with nothing else running on that breaker, and no extension cord and no power strip. In the first week I had it on a strip with the printer and the cord got warm to the touch, which was all the persuading I needed. If your spare room has one overloaded circuit, move something else off it or have someone who knows wiring add an outlet.
And do not put it on a folding table. I am fond of folding tables. My printer and my tumbler press sit on one by the window. This press does not, because it measures 33 inches long by 23 wide by 20 high and it is heavy enough that I do not move it once it is placed. Set it somewhere solid and leave it there. Moving it is its own project, and moving it while it is warm is a worse one.
Step 2: Set Your Temperature and Time Before the Shirt Goes On
The controls on this machine are two digital panels, one for temperature and one for time, and those are the only two numbers you need to think about. The listing gives a range of 0 to 699 F and 0 to 999 seconds. I have never needed the top of either. My two working settings are 305 F for 15 seconds for Siser EasyWeed on a cotton shirt, and 385 F for 50 seconds for sublimation on a white or light polyester shirt.
Decide which of those two jobs you are doing before you touch anything, because they want different blanks. Vinyl goes on cotton in any color, and it is what you use when the shirt is dark or the design needs white in it. Sublimation only goes on white or light polyester, and the design has to be mirrored before it prints. Get those two backwards and you will either scorch a polyester shirt or press a transfer onto cotton and watch it fade to nearly nothing in a few washes.
Let the press come up to temperature and then give it a few extra minutes to even out. The display hitting 305 does not mean the whole platen is at 305 yet. I keep a cheap infrared thermometer on the bench and check three spots on the platen before the first press of the day. The display can read a little off from what the surface actually is. It is not a dramatic difference, but it is enough that I check, and checking takes ten seconds.
The other half of this step is honest restraint. I do not push vinyl hotter to make it faster, and I do not shorten the sublimation time because the shirt already looks done. Most trouble on a press comes from hurrying a step, not from the numbers. Write your settings on a scrap of paper and tape it to the wall by the bench. You will not remember them at nine at night on a Thursday.
Step 3: Prepress the Shirt, Then Load It Straight
Lay the shirt on the lower platen with the seams flat, close the press on it for three to five seconds with nothing on it, then open it again. That is not a real press. That is a moisture press. Cotton holds water from the closet and from the air in the room, that water turns to steam under a hot platen, and steam is what makes a transfer look blotchy and a vinyl edge lift three washes later.
Then place the design and check it twice. For vinyl, the carrier sheet goes face down on the shirt so the dull side is against the fabric, and you confirm which side peels before you commit. For sublimation, the printed side of the paper goes face down against the shirt, and you tape two corners with heat tape so nothing shifts when the platen comes down. I mirror every sublimation design before it prints, every single time, and I still lay the paper on the shirt and look at it before I close the press.
Cover the design with a Teflon sheet or a sheet of butcher paper. The platen on this press has a Teflon coating, and that coating is there so the platen wipes clean, not so you can skip the cover. A cover catches the ink that bleeds past the edge of your paper, and it keeps you from scrubbing a hot platen with a rag while a shirt waits underneath.
One habit that saved me early: keep the shirt flat and square to the platen edge. If a collar hangs off one side or a sleeve doubles under, the press leaves a ridge exactly where that fold was, and no amount of repressing takes the ridge back out.
Step 4: Close It and Then Leave It Alone
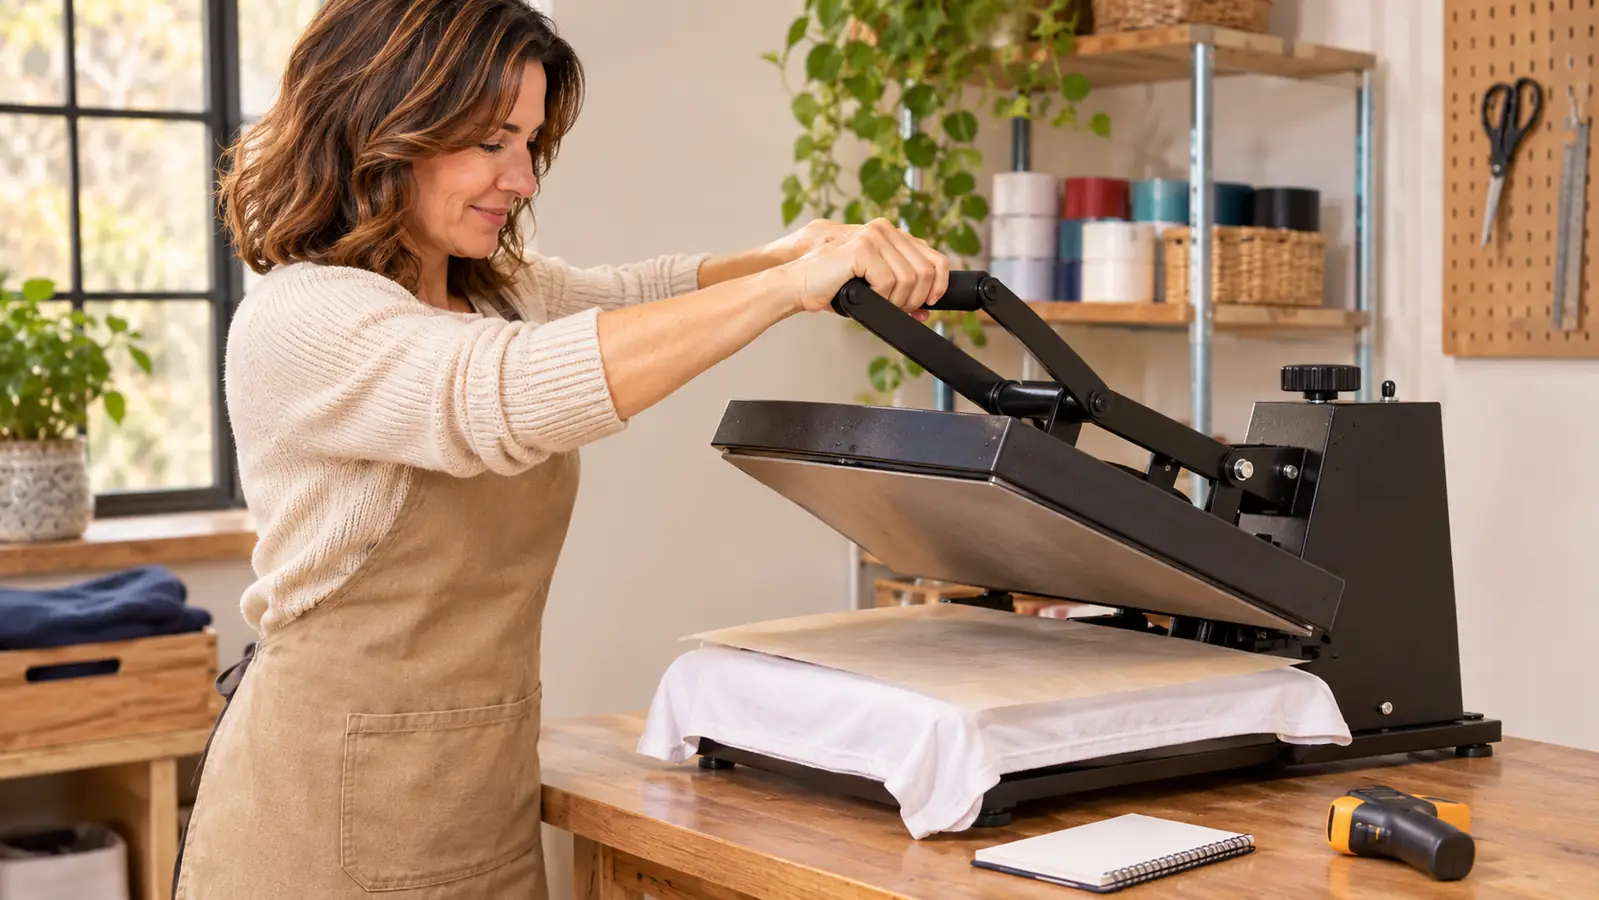
A clamshell opens up and toward you, so the hot upper platen sits above your hands while you load and unload, and the handle swings through the space in front of your face. I press with care. I get the shirt placed with both hands clear before I pull the handle down, and I do not reach under the top platen after a stray corner. That is not fear, it is just how the machine is built, and once the habit sets in it costs you nothing.
Close the press and let the timer run. Do not open it early to peek, and do not lift the handle halfway to see whether the vinyl is sticking. Fifteen seconds at 305 is what bonds the adhesive on EasyWeed, and half of that gives you half a bond. The 50 seconds at 385 is what drives the sublimation gas into the polyester fibers, and opening early wastes a printed sheet you cannot use twice.
When the timer runs out, open the press. Do not walk away and leave it closed. Heat, time and pressure keep working after the timer stops, and a shirt left under a closed platen picks up a platen shaped shine where the cover sat. I set a kitchen timer for myself during the first month for exactly this reason, and I still do not leave the room while a shirt is in.
Step 5: Peel It, Cool It, and Wash One Before You Trust It
Vinyl peels hot. Siser EasyWeed comes off the carrier while the shirt is still warm, in one steady pull from a corner, low and slow rather than up and away. If a corner of the design tries to come up with the carrier, put the cover back down and give it another five seconds. Do not pull harder. Pulling harder stretches the shirt and the design along with it, and a stretched shirt never goes back.
Sublimation paper comes off while the shirt is warm too, but I peel it slowly and in one direction, because the paper is damp with ink and a fast pull can smear a corner. Then the shirt cools. The print looks a little dull and gray while it is hot, so do not judge the color until the fabric is cool to the touch.
Before you hand a shirt to anyone, wash one of your own. Turn it inside out, cold water, no fabric softener, and either air dry it or tumble it on low. Wait a day after pressing before that first wash, because the adhesive keeps curing as the shirt cools. The December shirts that failed me did not fail because the vinyl was cheap. They failed because an iron cannot hold 305 degrees across a whole sheet for 15 seconds. The Fancierstudio does hold it, and that is the whole difference.
What Else Helps
The press is one tool in a small room, and the things around it are what keep the work clean. My Cricut Explore Air 2 cuts the vinyl, and I have had it since before any of this, back when I was making greeting cards. Small letters are fiddly to weed and a white roll shows every smudge, so I keep a lint free cloth on the bench and I weed with good light over my shoulder.
Beyond that: a Teflon sheet or butcher paper for a cover, heat tape for holding sublimation paper still, heat gloves for anything that comes off hot, and the infrared thermometer I already mentioned. I crack the window by the folding table while I press, because the vinyl gives off a smell and the room is small. None of these cost much and none of them are optional once you are pressing more than one shirt in an evening.
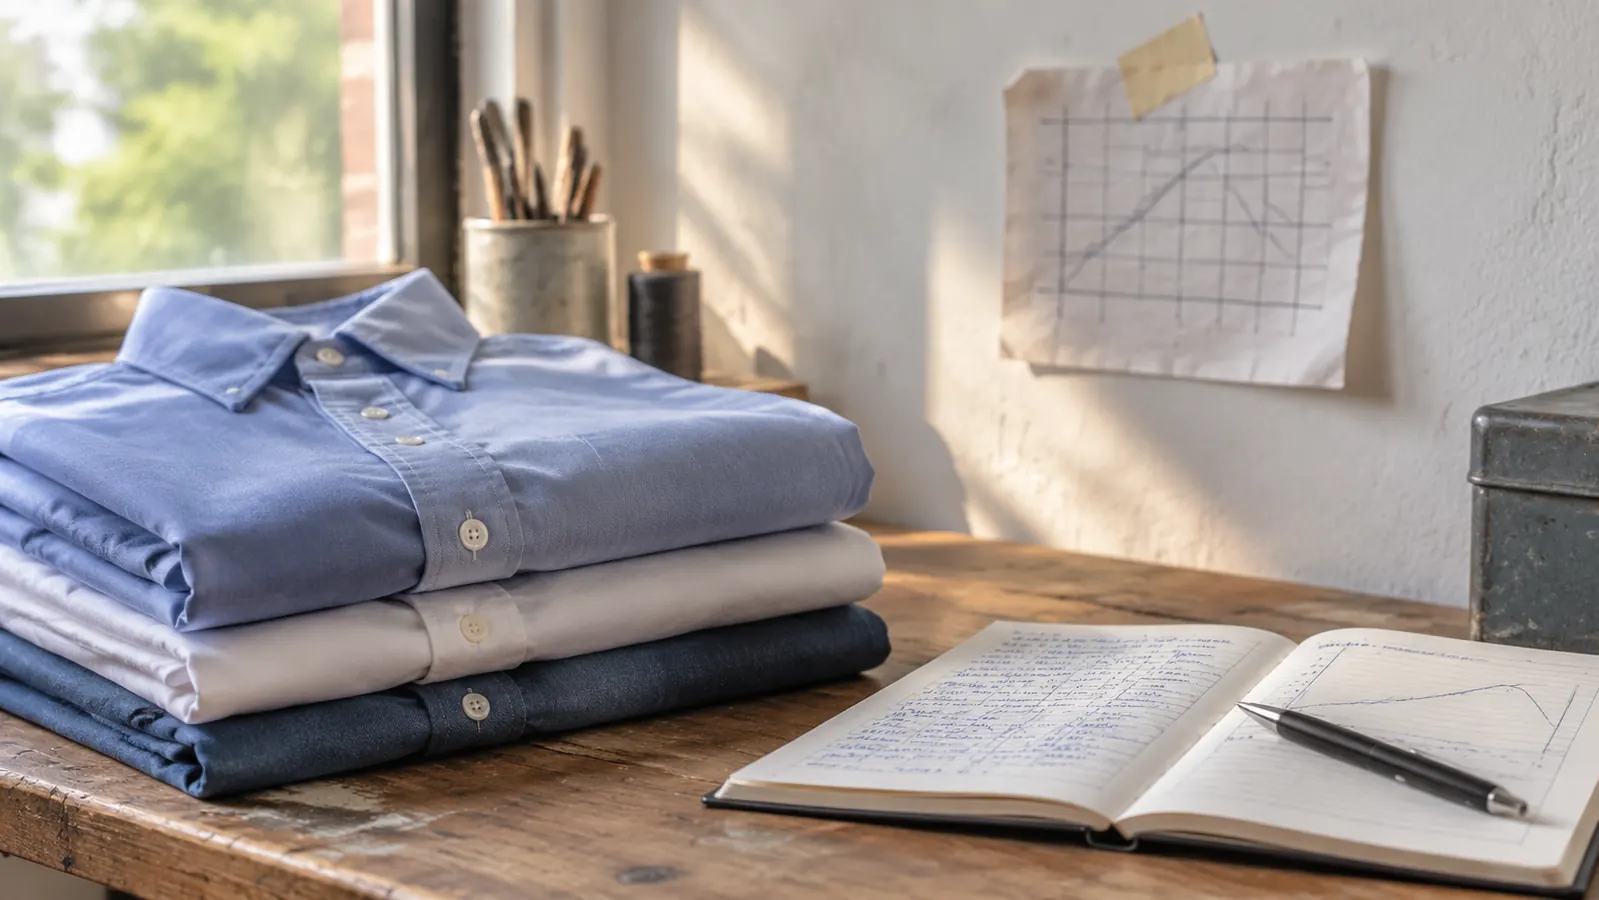
Keep a practice shirt. I have a plain cotton shirt that has been pressed, washed and pressed again, and it is where I try a new setting or a new blank before I try it on something a coworker is paying attention to. Keep a notebook too, or the taped scrap of paper, one line per blank: what it was, what temperature, what time, and whether you peeled hot. Six months from now that page is worth more than any video you watched.
One limit worth saying plainly. This press does flat work. It does shirts, tote bags and mouse pads, and the listing says the same. It does not do 20 ounce tumblers. I press tumblers on a separate machine at 365 F for 150 seconds, and if that is part of your plan, plan for the second machine as well.
Three hundred five degrees, fifteen seconds, peel it hot. That is not a trade show answer. It is the answer that stopped my vinyl from lifting in the wash.
Start with the press, not with a whole craft room
One solid bench, one outlet on its own circuit, one blank shirt and a scrap to practice on. That is the setup. Everything else you can add as you go.
Amazon Check Today's Price on Amazon →