
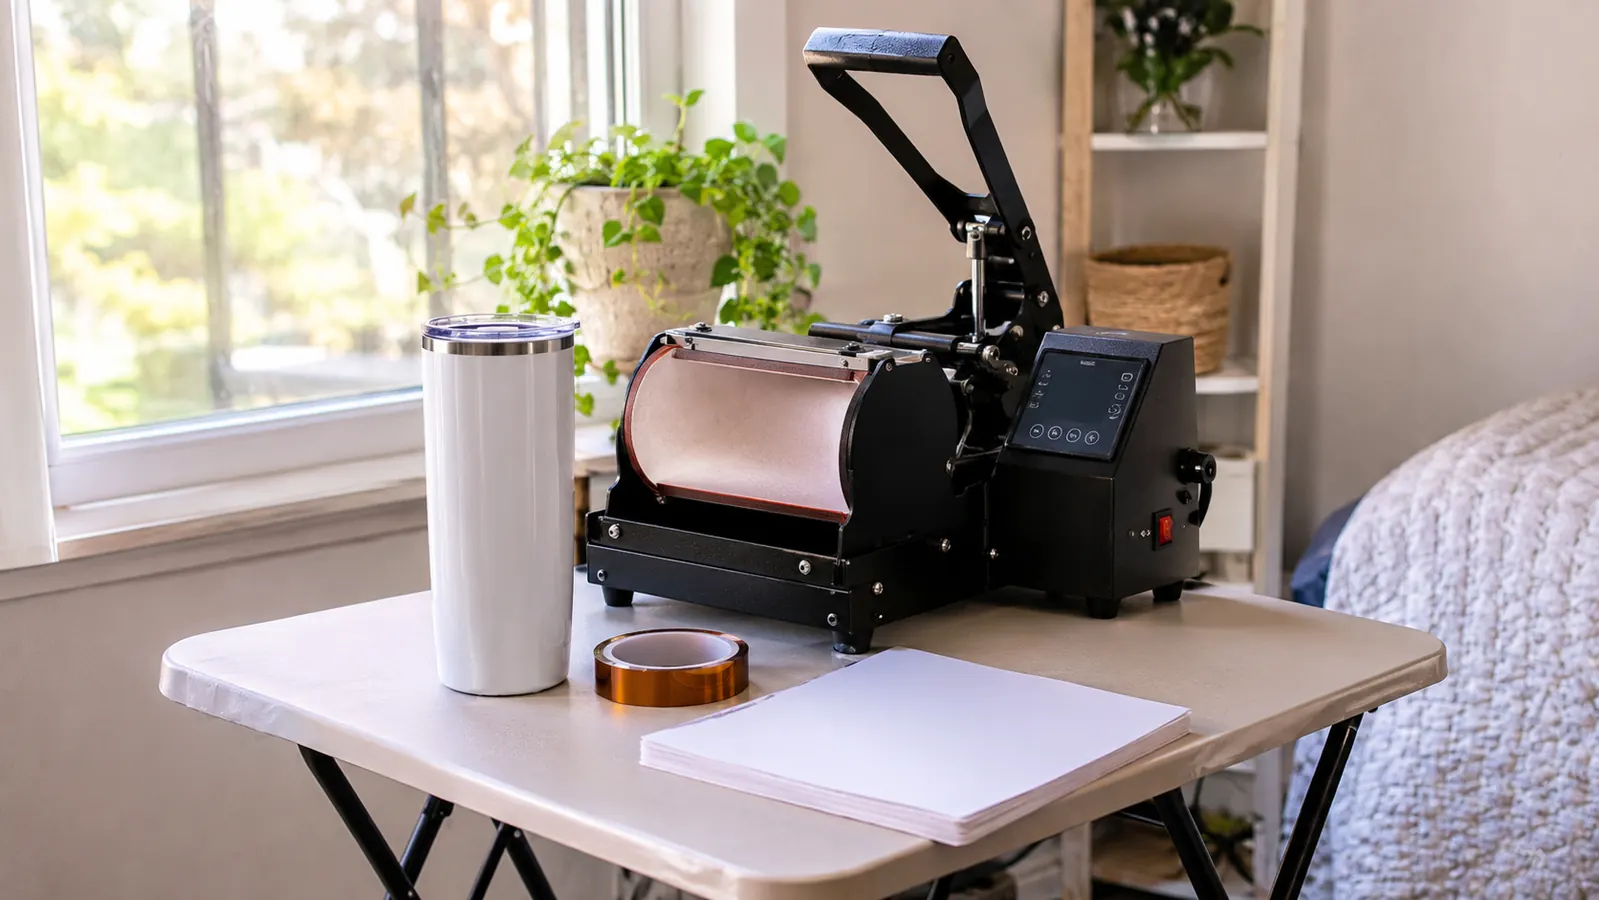
Tumblers are the part of this hobby that nearly ended it for me. A shirt goes under a flat platen, you count to fifteen, and you are done. A tumbler has to be wrapped, taped, clamped and heated evenly the whole way around, and if any one of those four steps is off you will not find out until the paper comes off and the design is looking back at you with streaks in it. I found out the hard way on a Saturday in late April, with a set of six tumblers for a friend's bridal party that came out blurry. That was the same afternoon my converted printer clogged, and I sat on the spare room floor and thought about selling the whole lot.
A week later I bought the HTVRONT Auto Tumbler Heat Press, a new printer and a pack of paper, all with my own money. That was the first week of May, so I have been running this thing about six months now. It is the only machine that presses my tumblers. What follows is the routine I actually use, in the order I use it, on 20 oz straight blanks. It is also the routine that got those six bridal tumblers remade sharp the following Saturday, which is the only proof I have to offer.
One tumbler at a time, clamped even, 365 F for 150 seconds
This is the press that replaced my toaster oven and shrink wrap. It holds straight blanks from 2.9 to 3.2 inches across and 10 to 30 oz, runs from 210 F to 390 F, and lets the pad go the second you press R. 4.6 stars from 2,437 reviews.
Amazon Check Today's Price on Amazon →Step 1: Start With a Straight 20 oz Blank
The press handles tumblers from 2.9 inches to 3.2 inches in diameter and 10 oz to 30 oz, which is a wider range than it looks like it should have. That range is not a licence to press everything in the cupboard. Straight walls only. If a tumbler tapers toward the base, the pad cannot sit flat against the whole side, and you get a pale band of design near the bottom that no amount of extra time or heat will fix. I press 20 oz straight sublimation tumblers, the kind that come already coated, and nothing else.
So the first step is not a setting. It is picking up the blank and looking at it. I stand it on the bench and check that the side is straight from top to bottom. If the diameter is in question, I lay a ruler across the mouth. Under 2.9 inches and the pad will not make proper contact. Over 3.2 inches and the tumbler will not sit down where it belongs. A plain stainless tumbler with no coating will not take sublimation at all, no matter how long you leave it clamped, so settle that before you print anything for it.
Wipe the blank with a lint free cloth and let it dry all the way. A fingerprint on the coating shows up as a dull patch once the ink sets, and you will not notice until it is permanent. I do that before I print, not after, so there is no damp cloth anywhere near the paper. One more dull thing: check for a sticker or a barcode before you wrap. I printed straight over a label once and it came out as a raised rectangle sitting in the middle of the design.
Step 2: Print the Design Mirrored and Size It to the Wrap
Mirror the design. If you skip it, the tumbler comes out with the artwork reading backwards, which is only funny the first time. My printer mirrors in the driver, so I set it there and check the preview window before anything actually prints. The design also has to be sized to the blank, not sized to whatever looked good on the screen at eleven at night.
I wrap a tape measure around the widest point of an empty tumbler and take off about half an inch so the paper does not overlap itself at the seam. An overlap doubles the ink in one stripe and it shows. I leave a margin at the top and the bottom too. When a design runs right out to the edge of the paper, that hard paper edge prints as a visible line in the coating where the wrap ends, and it does not come out with a scrub.
Paper matters more than people expect. I use A-SUB 8.5x11, 110 sheets, 125g, and I have used it for every print since May. The print side is easy to mix up, so I check it each time instead of trusting my memory. The pack stays flat in a drawer because it curls in a humid room, and curled paper will not lie down on a curved blank without lifting somewhere. My printer only takes 8.5x11, which is a real limit on tall designs, so I size to that rather than pretending it prints bigger than it does.
Step 3: Tape the Wrap Tight Before It Goes Near the Pad
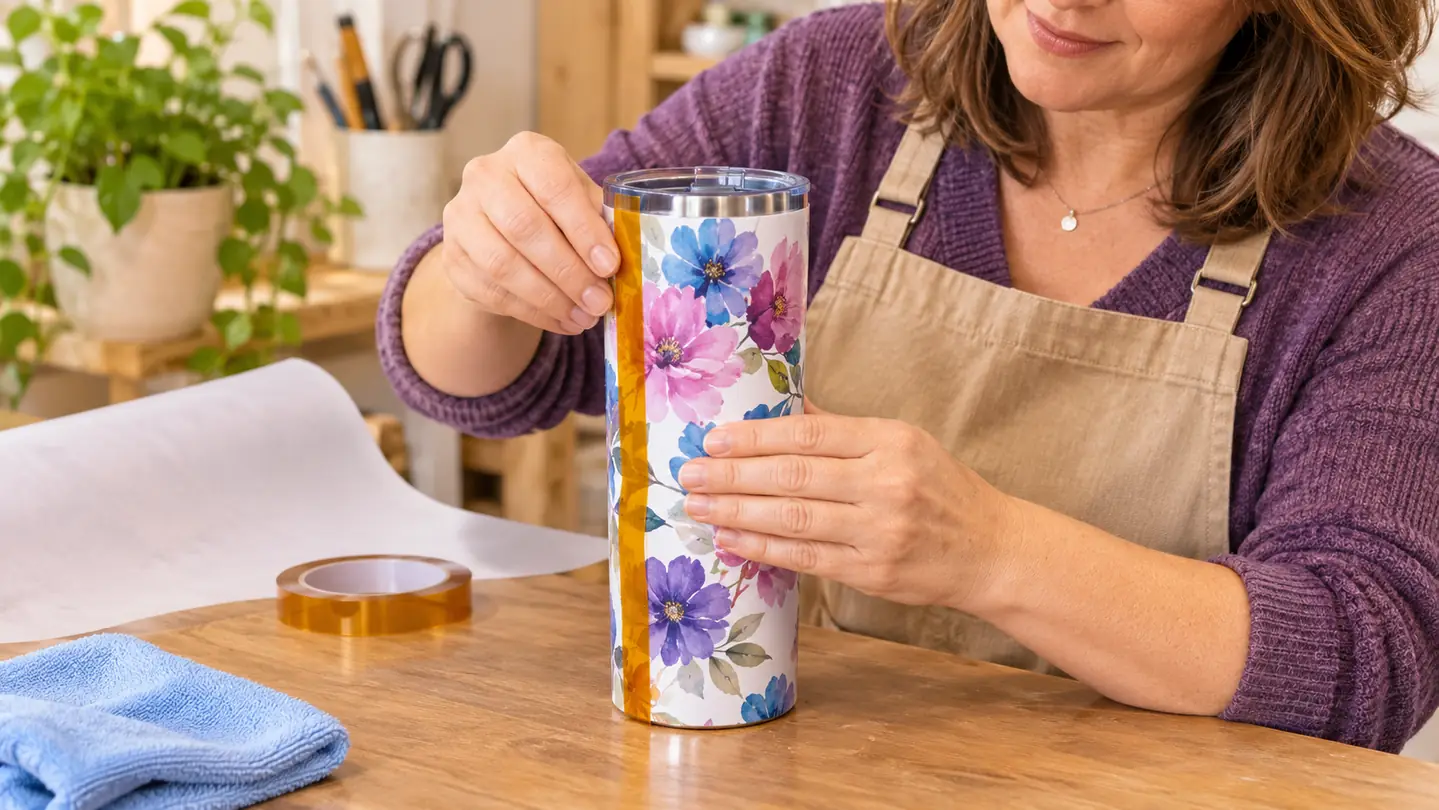
Tape is what keeps the design from walking while the pad comes down. I tape the seam first, then a strip across the top edge, then the bottom, pressing each one down firm with my thumb. Heat tape only. Masking tape lets go when it gets hot, and you will find it curled up under the pad with the design shifted out of place and no way to know until the peel.
Once the wrap is taped I go over the whole thing with butcher paper. It keeps the pad off the taped seam and catches the faint ink transfer that shows up on the sheet after a few presses. Some people use a teflon sheet here instead. I have done both and I cannot tell the difference in the finished tumbler, so I reach for whichever is closer to my hand.
Then check the wrap one more time. Run a thumb around the tumbler and feel for a bubble or a lifted edge. Anything you can feel will print as a light spot, and it takes five seconds to catch. This is the step I skipped in April. I have not skipped it since.
Step 4: Set 365 F for 150 Seconds and Load It Square
Set 365 F and 150 seconds. That is my number for 20 oz straight sublimation tumblers and I have not had a reason to move it. The machine runs from 210 F to 390 F, so 365 F sits under the top of the range with room to spare. Going hotter does not push the ink deeper into the coating. It scorches the paper and makes the tumbler harder to handle at the peel, and that is all it does.
Let it come up to temperature before anything goes in. The HTVRONT press is 600 watts on 120 volts, so it does not need a circuit of its own the way my 15x15 flat press does. Mine sits on a folding table by the window in the spare bedroom, and I crack the window while it runs, because there is always a faint smell when the coating heats up. That smell is normal. The smell of paper actually scorching is not, and if you get it, stop and check your temperature before you press another blank.
Then load it. The pad clamps down on its own once you start the press, so there is no handle to crank and nothing to hold shut. Set the tumbler in with the paper seam centred under the pad and the blank sitting square rather than tilted. A tilted tumbler presses heavy on one side and faint on the other, and there is no fixing that afterwards. Once it is seated, start it and leave it alone for the full 150 seconds. Opening the pad partway through to peek will cost you the blank.
Step 5: Hit R, Peel Hot, and Let It Cool Flat
When the count finishes, press R. The pad stops heating and releases instantly. That one button is why I stopped dreading tumblers. On the old oven setup I was standing there in gloves pulling a hot sleeve out of a hot box and hoping. Here the machine lets go when I ask it to, and the design stops cooking the same second.
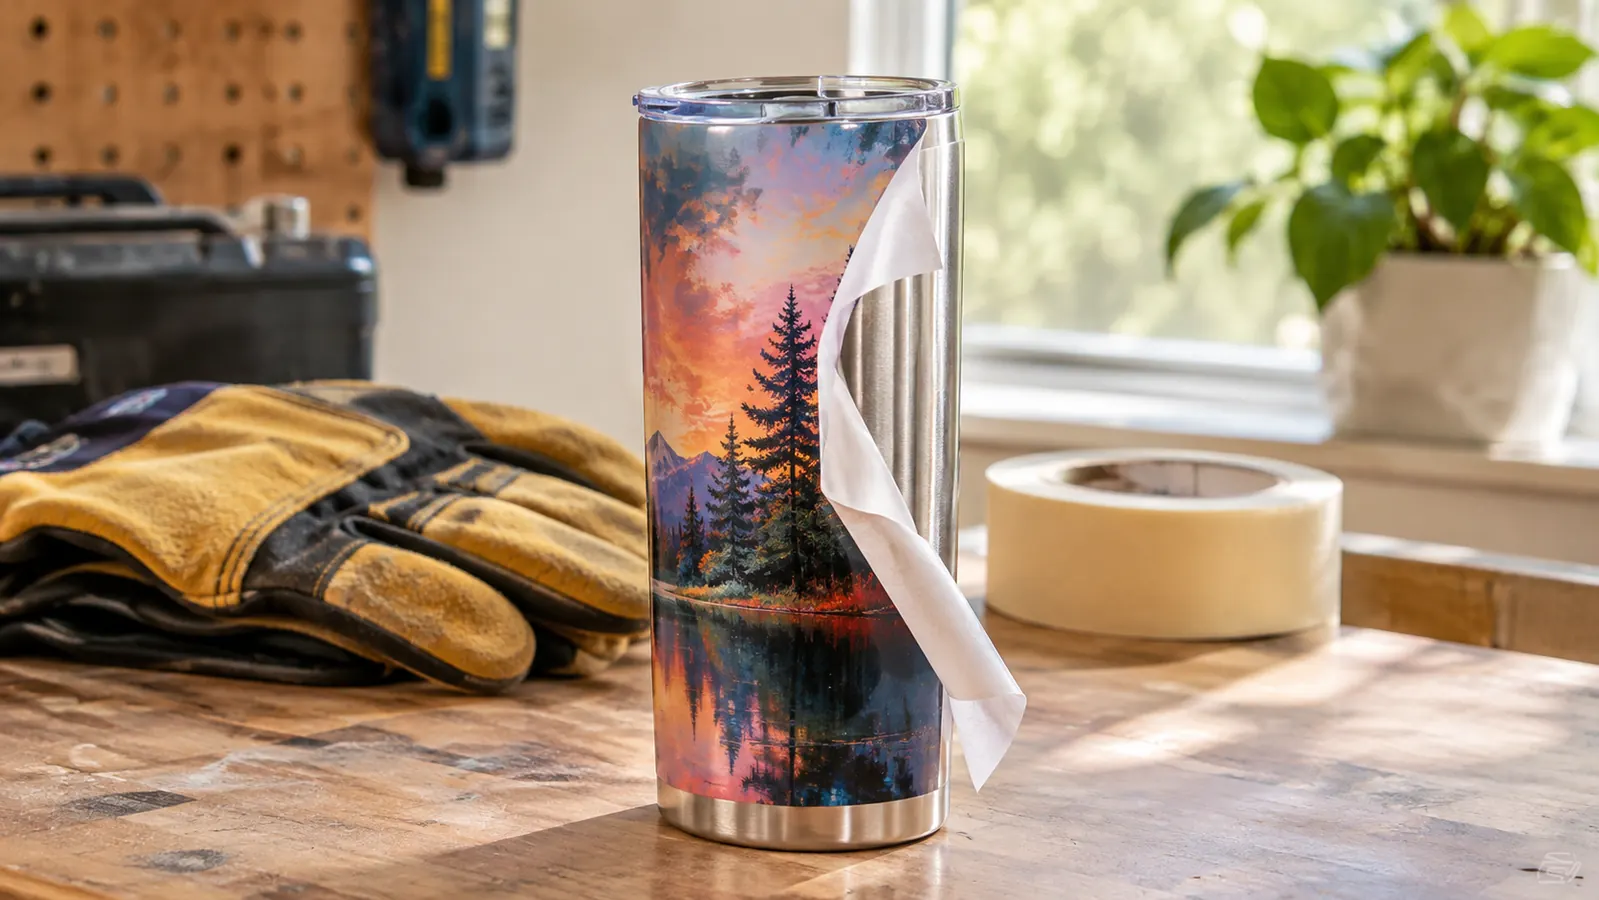
The tumbler is still very hot at this point. Wear gloves and mean it. I carry it to the bench and pull the paper off in one steady motion starting at the seam, then lift the tape the same way. Do not peel in little tugs. A slow, stop and start peel is how you get a smear at the edge where the ink is still soft, and that smear is permanent.
Lay it flat on the bench to cool. Not on a cold metal surface and not in front of an open window. Just on the bench. When it is cool enough to pick up with bare hands, the design is set. The machine presses one tumbler at a time, so a set of six is an evening rather than twenty minutes. That is the honest trade for even pressure all the way around, and I would make it again.
The pad releases the second I press R. On the old oven setup I was guessing with gloves on. Here I know the design stopped cooking the moment the heat came off.
What Else Helps
Keep a notebook. Every batch gets one line with the date, the blank, the temperature, the time and one word for how it came out. It sounds fussy for a side project, right up until a tumbler comes out better than the last one and you cannot remember what you changed. Six months on, that notebook is the only reason I can tell you 365 F for 150 seconds is my number instead of a guess.
Press one test blank before a real order, especially with a fresh box of blanks. A test blank is cheap next to remaking a set, and the first press out of a new pack is the one most likely to surprise you. If the test comes out faint, add time in small steps before you touch the temperature at all.
Practise the taping on a cold blank until the wrap sits smooth without you thinking about it. The taping is what I still slow down for, not the pressing. And keep the tumbler press and the flat press on separate tables if the room allows it. Mine are apart, which means I am never clearing one machine off to use the other one.
If you want the longer version of how this machine has held up, my hands-on review of the HTVRONT Auto Tumbler Heat Press walks through it. If you are still deciding between a press like this and a sublimation oven, that comparison is worth ten minutes before you spend anything. Neither one is right for everybody, and an oven is the better answer if you ever want to do several blanks at once.
That is the whole routine. Straight blank, mirrored print, tight tape, 365 F for 150 seconds, release with R, peel while it is hot. Five steps and none of them are clever. The difference between the blurry batch in April and the sharp ones since is not talent, it is that the pad comes down evenly on a blank that is actually straight and actually taped. If you are still wrapping tumblers in shrink sleeves and standing over a toaster oven, this is the smallest change I have made that changed the most.
If your tumblers keep coming out streaky, the wrap is usually the problem
Uneven pressure makes it worse no matter how good the wrap is. The HTVRONT Auto Tumbler Heat Press clamps the pad evenly around a straight blank and releases the moment you press R. 1 year warranty, 4.6 stars from 2,437 reviews.
Amazon Check Today's Price on Amazon →